

Creating the ultimate molten chocolate cookies feels like unlocking a bakery secret at home. This American classic dessert bridges the gap between a chewy cookie and a decadent lava cake, delivering pure chocolate bliss in every bite. It’s all about the contrast of a crisp, crackly shell giving way to a river of warm chocolate. I love how something this impressive comes together with such simple, pantry-friendly ingredients.
Why You'll Love This Recipe
- You get that incredible molten chocolate center in every single bite
- They have the perfect texture combo of crisp edges and fudgy middle
- They look like they came from a fancy bakery but are surprisingly simple
- You can freeze the dough balls and bake them whenever you want
- I make these for every party and they’re always the first to disappear
Ingredients You’ll Need
- Unsalted butter at room temperature: This is the base for rich flavor and soft texture, and taking it out ahead of time ensures your cookies have the perfect crumb.
- Packed light brown sugar: It adds a lovely molasses note and softness that helps create a chewier cookie with a gorgeous color.
- Granulated sugar: For structure and that classic crispness around the edges that balances the gooey center beautifully.
- Large eggs at room temperature: They bind everything together and contribute to that lovely rise; room temp eggs incorporate much more easily.
- Pure vanilla extract: A flavor enhancer that deepens all the chocolate notes and adds a warm, aromatic background.
- All-purpose flour: The foundation that gives the cookie its structure, so you don’t end up with a puddle of chocolate.
- Unsweetened cocoa powder: Dutch-process is my favorite here for its deep, dark color and smooth, less acidic chocolate flavor.
- Baking soda: Our leavening agent that gives the cookies their lift and helps create those signature cracks on top.
- Fine sea salt: This isn’t optional; it’s the key to making all the chocolate flavors pop and taste more complex.
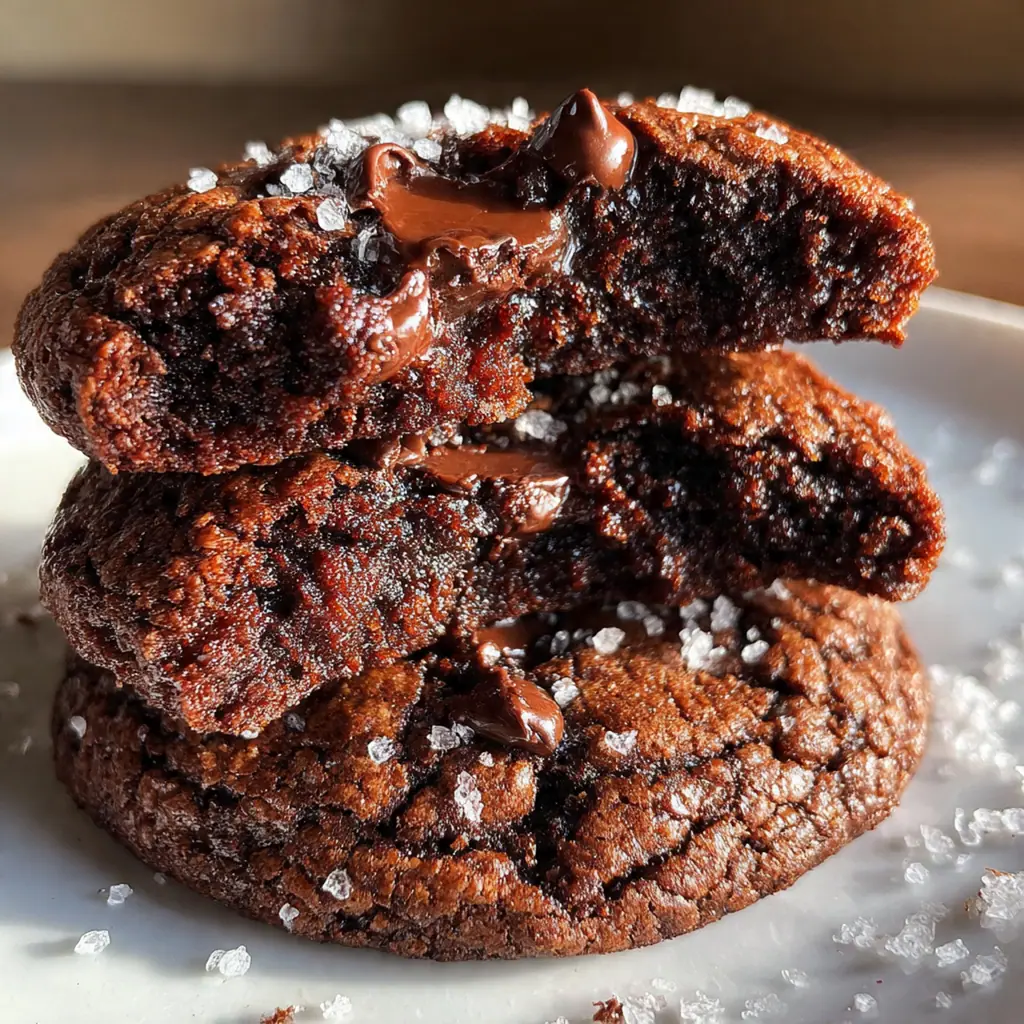
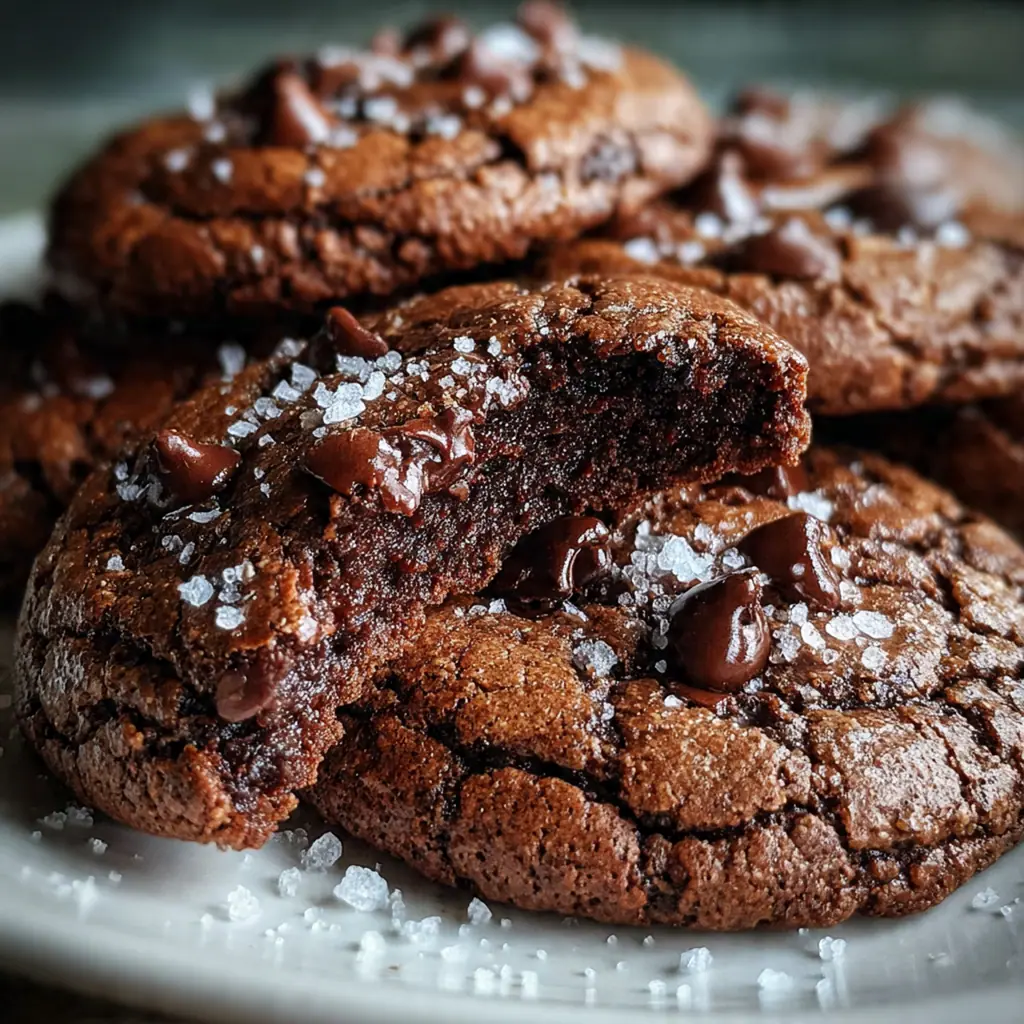
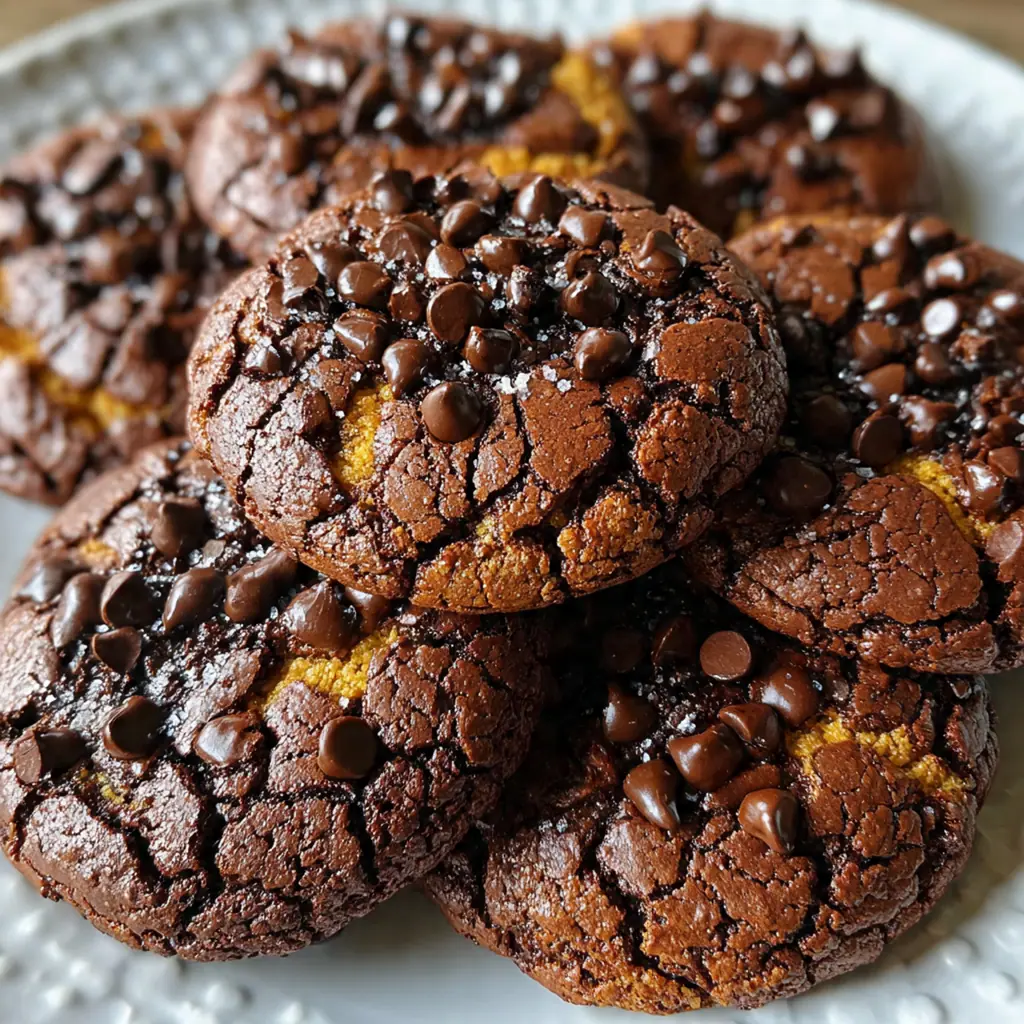
- Semi-sweet chocolate bars: You need real baking bars for the molten centers, as chips won’t melt the same way.
- Powdered sugar for rolling: This is the magic dust that creates that beautiful, snowy, crackled bakery-style exterior.
- Flaky sea salt for sprinkling: A tiny sprinkle right when they come out of the oven creates the most addictive sweet-salty contrast.
- Vanilla ice cream for serving: The classic pairing that turns a great cookie into an unforgettable dessert experience.
How to Make It
Preheat and Prep Your Tools:
Start by getting your oven to 350°F and lining two baking sheets with parchment paper. This step is non-negotiable for even baking and makes cleanup a breeze. Having everything ready before you mix keeps the process smooth and stress-free.
Cream the Butter and Sugars:
In your mixer bowl, beat the softened butter with both sugars for a solid 2-3 minutes on medium speed. You’re looking for a pale, fluffy mixture – this step incorporates air, which is essential for texture. Don’t rush this part; it’s the foundation of a perfect cookie.
Add the Eggs and Vanilla:
Crack in the eggs one at a time, beating well after each addition so they fully emulsify into the butter mixture. Then beat in the vanilla extract. This ensures your cookie dough is smooth, cohesive, and perfectly flavored throughout.
Combine the Dry Ingredients:
In a separate bowl, whisk together the flour, cocoa powder, baking soda, and salt. You want zero lumps of cocoa and an even distribution of the leavening agent. This prevents you from over-mixing later when you combine everything.
Mix Wet and Dry Ingredients:
With your mixer on its lowest setting, gradually add the dry ingredients to the wet. Stop mixing the moment the last streaks of flour disappear. Over-mixing at this stage is the enemy of a tender cookie.
Fold in the Chocolate Chunks:
Chop 8 ounces of your chocolate bar into small, chunky pieces. Use a sturdy spatula to fold them into the dough until they’re evenly distributed. These chunks give you pockets of melted chocolate throughout the cookie.
Shape and Fill the Dough:
Portion the dough into 12 equal balls. Chop the remaining chocolate into 12 squares. Flatten a ball in your palm, place a square in the center, and wrap the dough around it, pinching firmly to seal. This is your secret molten pocket.
Coat and Arrange for Baking:
Roll each sealed dough ball generously in powdered sugar until it’s completely covered. Place them on your prepared sheets, spacing them at least 3 inches apart. They’ll spread quite a bit, so give them room to become perfect puddles.
Bake to Gooey Perfection:
Bake for 10-12 minutes, until the edges look set but the centers are still soft and puffy. The tops will be crackly. Immediately sprinkle with flaky sea salt if using, then let them cool on the sheet for 10 full minutes so the centers can set just enough.
You Must Know
- Use real chocolate bars, not chips, for the true molten center
- Don’t skip the 10-minute rest on the baking sheet after they come out
- Seal the chocolate square inside the dough completely or it’ll leak
- Rolling in powdered sugar is what gives them that crackled top
- My kitchen is always warm, so I chill the dough balls for 20 minutes
Storage Tips
Once they’re completely cool, you can store these molten chocolate cookies in an airtight container at room temperature for up to three days. The centers will firm up after the first day but they’re still wonderfully fudgy and rich. For the ultimate make-ahead move, freeze the shaped and sugared dough balls on a tray, then toss them in a freezer bag for up to three months. Bake straight from frozen, adding just a minute or two to the bake time, and you’ve got fresh-baked cookies whenever the craving strikes.
Ingredient Substitutions
If you only have salted butter, just omit the extra fine sea salt from the dry ingredients to balance it out. While Dutch-process cocoa is ideal, you can use natural cocoa powder in a pinch – the flavor will be slightly more acidic and the color lighter. For a gluten-free version, a good 1:1 gluten-free flour blend works perfectly as a direct swap. Dairy-free butter and chocolate bars can be used if needed, though the texture of the molten center might vary slightly depending on the brand you choose.
Serving Suggestions
There’s truly nothing better than serving these molten chocolate cookies warm, straight from the oven, with a scoop of cold vanilla ice cream slowly melting over the top. The hot and cold contrast is pure magic. For a grown-up twist, pair them with a shot of espresso or a small glass of tawny port – the bitter notes cut through the sweetness beautifully. If you’re serving a crowd, just put a platter of cookies in the center of the table with a bowl of ice cream and let everyone build their own perfect bite.
Cultural Context
While the exact origin is debated, this style of cookie is a distinctly American bakery innovation, taking the beloved concept of a chocolate chip cookie and merging it with the indulgent, theatrical appeal of a molten lava cake that became a restaurant sensation in the 1990s. It represents a beautiful trend in home baking where gourmet dessert techniques are simplified for the home cook, focusing on creating a spectacular, shareable moment of joy from simple, accessible ingredients. It’s a testament to the ever-evolving world of comfort food, where the goal is maximum flavor and a bit of delightful surprise in every bite.
Pro Tips
- Chill your dough balls for 20 minutes if your kitchen is warm to prevent overspreading
- Use a cookie scoop for perfectly even portions and baking
- Test one cookie first to nail your oven’s exact timing
- Let them cool on the sheet – they finish setting as they sit
- I always use a mix of cocoa powders for the deepest flavor
Frequently Asked Questions
For the deepest chocolate flavor, use Dutch-process cocoa powder. It has a smoother, less acidic taste that enhances the chocolate in these cookies. However, natural unsweetened cocoa powder can also be used in a pinch.
Yes, you can prepare the dough, shape the cookies, and then freeze them on a baking sheet. Once frozen, transfer to an airtight container and store for up to 2 months. Bake from frozen, adding a minute or two to the baking time.
You can use dark chocolate (60-70% cacao) for a richer cookie or milk chocolate for a sweeter version. Just note that the cookies will be sweeter with milk chocolate, so you might want to reduce the sugar in the dough slightly.
The cookies are done when the edges are set and the tops are cracked. The centers will look soft but will set as they cool. Be careful not to overbake, or the centers will not be molten.
These rich cookies are fantastic on their own, but you can also serve them with a scoop of vanilla ice cream or a dusting of powdered sugar. A glass of cold milk or a cup of coffee pairs perfectly.