

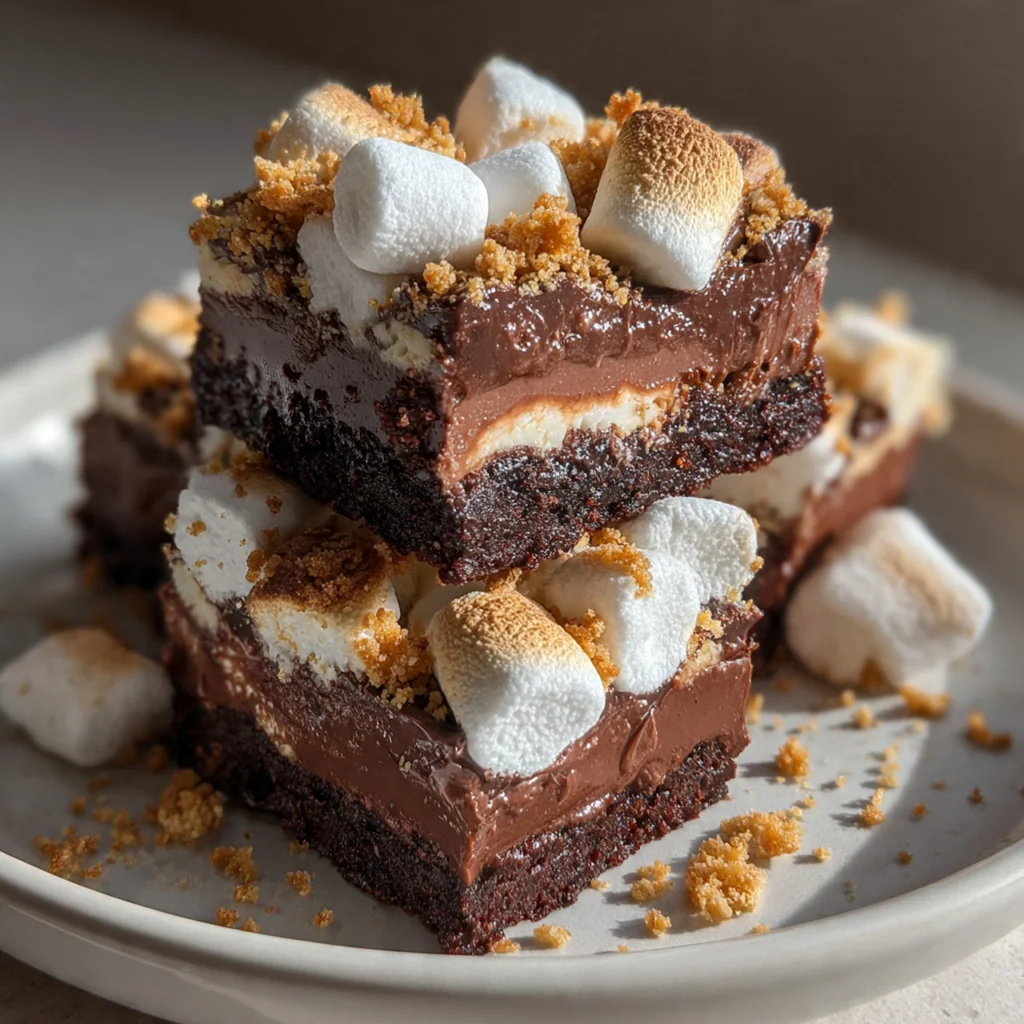
These Marshmallow Hot Chocolate Bars are the ultimate cozy dessert, capturing all the rich, chocolatey comfort of a steaming mug in chewy, sliceable form. They’re the perfect American treat for a chilly day, blending a fudgy brownie base with a gooey toasted marshmallow topping that’s impossible to resist. I’ve been making these bars for years as a fun twist on classic hot cocoa, and they always disappear faster than any other dessert. You’ll love how they turn simple pantry staples into pure chocolate bliss.
Why You'll Love This Recipe
- It tastes exactly like a cup of hot chocolate but in a handheld bar
- You get that incredible combo of fudgy base and gooey toasted marshmallow top
- It’s surprisingly easy with no fancy kitchen tools required
- Perfect for sharing at parties because it travels so well
- My kids ask for these every single winter
Ingredients You’ll Need
- Unsalted butter: Melted butter creates a dense, fudgy texture and rich flavor. Let it cool slightly so it doesn’t cook your eggs when you mix them in.
- Granulated sugar: This sweetens the brownie base and helps create that signature crackly top. Standard white sugar works perfectly.
- Large eggs: Use room temperature eggs for better emulsification and a smoother, thicker batter. They’re the binding agent that holds everything together.
- Pure vanilla extract: A splash of vanilla rounds out the chocolate flavor beautifully. Look for pure extract, not imitation, for the best taste.
- All-purpose flour: This gives the bars structure without making them cakey. You can sift it with the cocoa to prevent lumps.
- Unsweetened cocoa powder: This is your main chocolate flavor, so choose a good-quality one. Dutch-process gives a deeper flavor, but natural works too.
- Salt: A little salt is essential to balance the intense sweetness and enhance the chocolate. I always use kosher salt.
- Semi-sweet chocolate chips: They melt into pockets of gooey chocolate throughout the bars. You can swap in milk or dark if you prefer.
- Mini marshmallows: Folded into the batter, they create little pockets of marshmallow goodness. They add extra texture and fun.
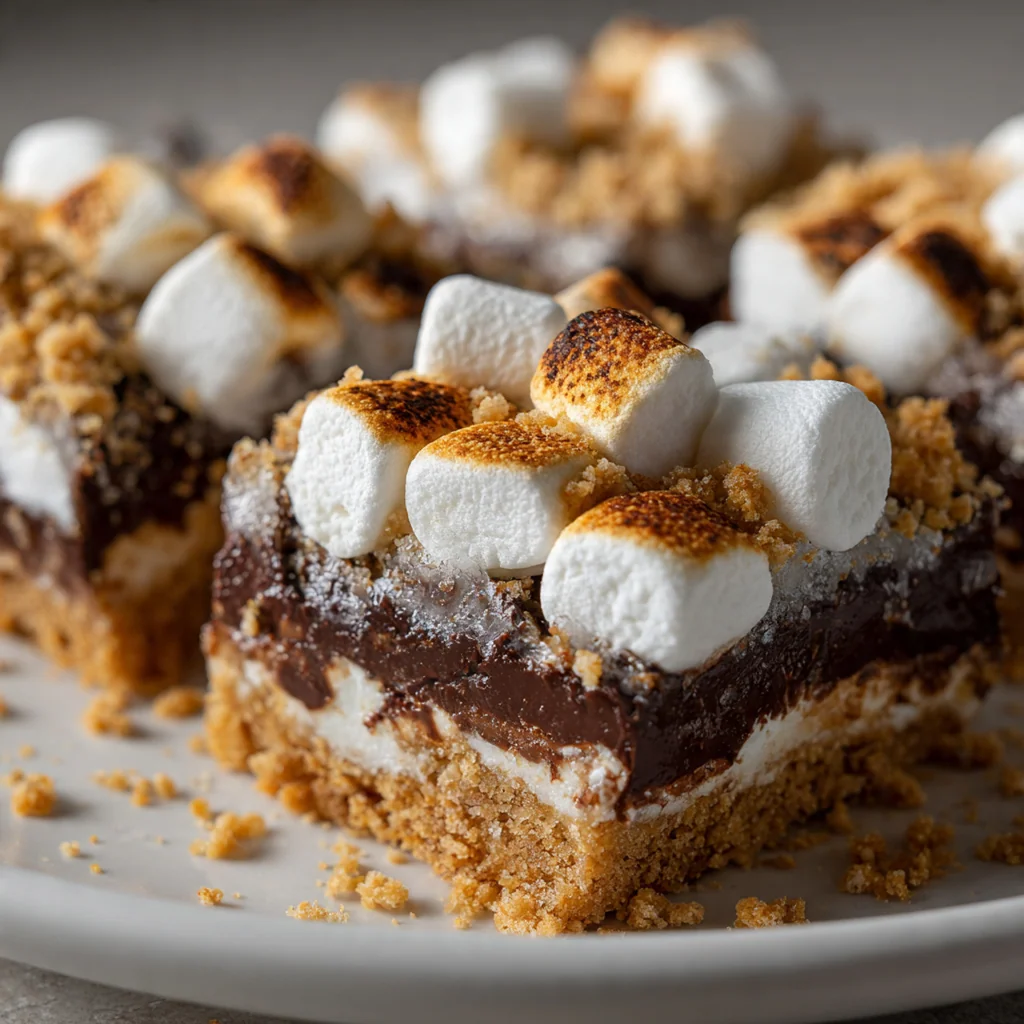
- Large marshmallows: For that iconic toasted top that looks and tastes like a campfire treat. They get perfectly soft and golden.
- Flaky sea salt: A light sprinkle after baking cuts the sweetness and adds a professional finish. It’s a game changer.
- Chocolate syrup: An optional drizzle makes them look extra decadent and adds another layer of chocolate flavor. Hot fudge works too.
How to Make It
Preheat and Prepare Your Pan:
Start by preheating your oven to 350°F and lining your 9×13-inch pan with parchment paper, leaving an overhang on two sides. Lightly greasing the paper guarantees your Marshmallow Hot Chocolate Bars will lift out cleanly once they’re cooled. This little trick makes serving so much easier.
Mix the Wet Ingredients:
In a large bowl, whisk together the melted butter and sugar until they’re well combined. The mixture will look a bit gritty, which is exactly what you want. Then add your eggs one at a time, whisking thoroughly after each until the batter is smooth and slightly thickened. Stir in the vanilla to round out all the flavors.
Combine the Dry Ingredients:
In a separate bowl, sift together the flour, cocoa powder, and salt. Sifting is key here because it breaks up any lumps in the cocoa and aerates the flour, leading to a more tender bar. You’ll get a uniform, lump-free dry mix ready for folding.
Fold Everything Together:
Gently fold the dry ingredients into the wet batter using a spatula. Stop folding when just a few streaks of flour remain, then fold in the chocolate chips and mini marshmallows. Overmixing is the enemy of fudgy bars, so a light hand is your best friend.
Bake the Base:
Transfer the thick batter to your prepared pan and spread it evenly into the corners with a greased spatula. Bake for 25 to 30 minutes until the edges are set but the center still has a slight jiggle. A toothpick near the edge should come out with moist crumbs, not wet batter.
Toast the Marshmallow Topping:
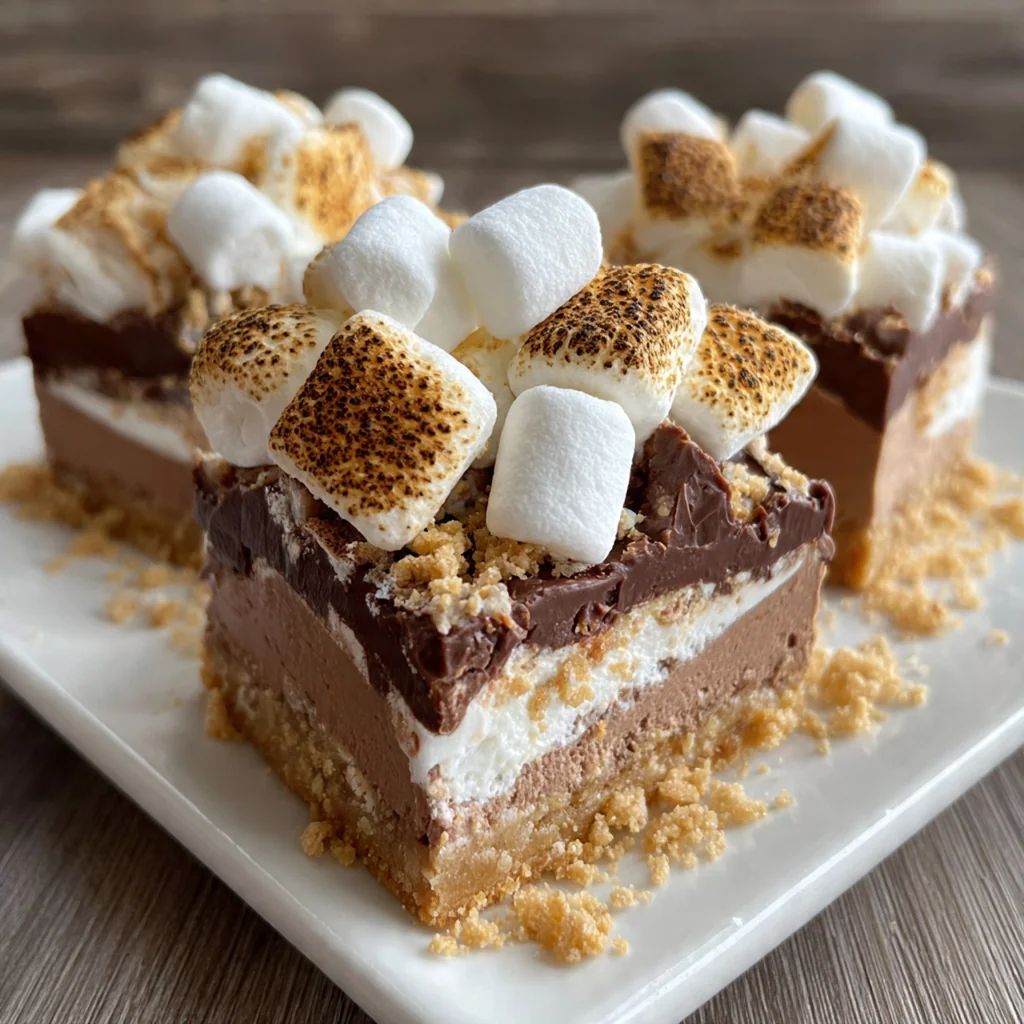
As soon as the base comes out of the oven, place the large marshmallows in a tight single layer over the entire hot surface. Return the pan to the oven for 3 to 5 minutes until they’re puffed and soft. For a golden toast, carefully broil for just 1 to 2 minutes, watching constantly.
Cool Completely:
Let the pan cool completely on a wire rack. The marshmallows will deflate and set as they cool, creating that perfect gooey layer. Rushing this step makes the bars impossible to slice neatly, so patience really pays off here.
Slice and Serve:
Use the parchment overhang to lift the entire slab of Marshmallow Hot Chocolate Bars out of the pan. Cut into squares with a sharp knife, wiping the blade clean between cuts for perfect edges. They’re now ready to devour.
You Must Know
- Let the melted butter cool a bit before adding sugar
- Do not overmix the batter for the fudgiest texture
- The center should be slightly jiggly when you pull it out
- Use the broiler for just a minute to toast the top
- Chill the bars before cutting for super clean slices
Storage Tips
You can store leftover Marshmallow Hot Chocolate Bars in an airtight container at room temperature for up to three days. The marshmallow layer will soften but stays wonderfully gooey and delicious. For longer storage, I like to freeze the uncut slab on a parchment-lined sheet until firm, then wrap it tightly in plastic and foil. It keeps perfectly for two months, and you can thaw slices at room temperature whenever a chocolate craving hits.
Ingredient Substitutions
If you’re out of large marshmallows, you can cover the top with three to four cups of mini marshmallows instead—they toast up just as nicely. For a gluten-free version, a trusted one-to-one gluten-free flour blend works perfectly in place of the all-purpose. You can also play with the chocolate chips by using a mix of semi-sweet, milk, or dark chocolate chunks for a more complex flavor. I haven’t tested dairy-free butter or egg replacements, but they should work in theory for an allergy-friendly treat.
Serving Suggestions
I love serving these bars slightly warmed with a scoop of vanilla ice cream for the most epic hot chocolate sundae you can imagine. They’re also fantastic alongside a fresh cup of black coffee or a cold glass of milk to balance the sweetness. For a party, cut them into smaller squares and set them out on a platter—they disappear fast. You can even drizzle them with a little extra chocolate syrup or caramel right before serving for a truly decadent touch.
Cultural Context
These Marshmallow Hot Chocolate Bars are a wonderfully American dessert, taking inspiration from two classic comfort foods: the rich hot chocolate of wintery days and the toasted marshmallows of campfire s’mores. They fit right into a tradition of homey, crowd-pleasing bar cookies that are staples at bake sales, potlucks, and family gatherings across the country. The idea of turning a beloved drink into a handheld treat speaks to a playful, inventive approach to baking that’s all about maximizing coziness and shareable joy. It’s a modern twist that feels nostalgic and new all at once.
Pro Tips
- Chill the bars before slicing for the cleanest cuts
- Spray kitchen shears to easily cut through the marshmallow top
- Use a toothpick to test for doneness near the edge
- Swap half the chips for chocolate chunks if you like
- A sprinkle of flaky salt makes all the difference
Frequently Asked Questions
For the richest chocolate flavor in your Marshmallow Hot Chocolate Bars, use Dutch-process cocoa powder. It has a deeper, less acidic taste that mimics the flavor of hot chocolate. However, natural cocoa powder will also work if that’s what you have on hand.
Absolutely! Once completely cooled, you can store these bars in an airtight container at room temperature for up to 3 days. For longer storage, they freeze beautifully for up to 2 months; just thaw at room temperature before serving.
If you don’t have mini marshmallows, you can chop regular marshmallows into small pieces. Alternatively, you can omit them from the batter and just use the large marshmallows on top, or replace them with more chocolate chips for an extra fudgy texture.
The bars are ready when the edges are set and the center is just set but still slightly soft. A toothpick inserted into the brownie base (avoiding the marshmallows) should come out with a few moist crumbs. The marshmallows on top should be golden and toasted.
These rich bars are delicious on their own, but for an extra treat, serve them warm with a scoop of vanilla ice cream or a drizzle of chocolate sauce. They also pair wonderfully with a cup of coffee or, of course, hot chocolate for the ultimate cozy experience.