

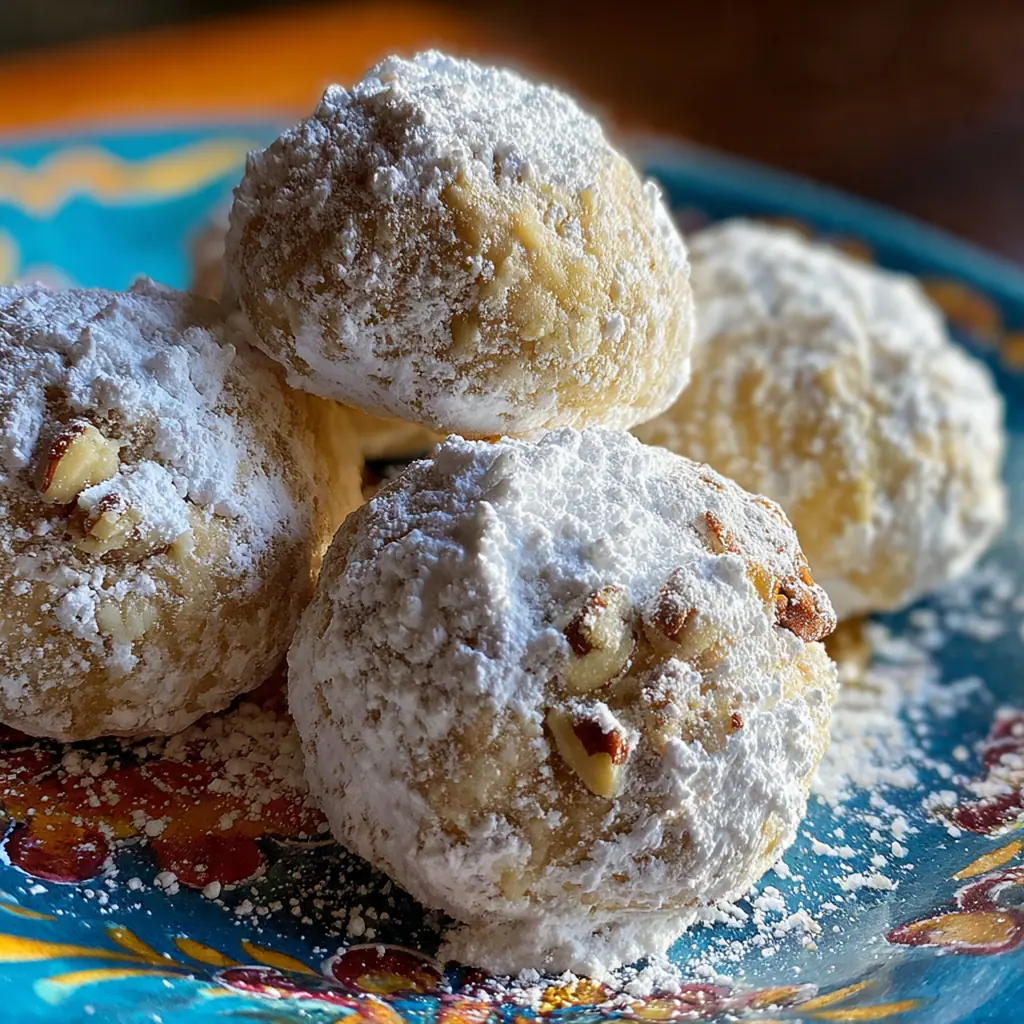
Classic Russian Tea Cakes are the melt-in-your-mouth cookie that always steals the show at my holiday table. These traditional treats, also known as snowball cookies, have a rich history in Russian and Eastern European cuisine. Their magic lies in a simple, buttery dough packed with nuts and rolled twice in powdered sugar for that iconic snowy look. Once you taste one of these tender, nutty cookies, you’ll understand why they’ve been a beloved staple for generations.
Why You'll Love This Recipe
- They come together quickly with simple pantry ingredients
- The buttery, nutty flavor is absolutely irresistible
- They look elegant and snowy, perfect for any gift box
- They pair wonderfully with your afternoon tea or coffee
- I’ve been making this exact recipe for years and it never fails
Ingredients You’ll Need
- Unsalted butter softened at room temperature: This is the foundation for a tender, melt-in-your-mouth texture. Letting it soften naturally makes creaming effortless.
- Powdered sugar: Using it in the dough creates a fine crumb and rolling the warm cookies in it gives that classic snowy coating.
- Pure vanilla extract: A splash adds a warm, aromatic depth that complements the nuts beautifully. Always choose pure over artificial for the best flavor.
- All-purpose flour: It provides the structure for these delicate cookies without making them tough. Be sure to measure it correctly for perfect results.
- Salt: A small amount balances the sweetness and heightens all the other flavors in your Russian Tea Cakes.
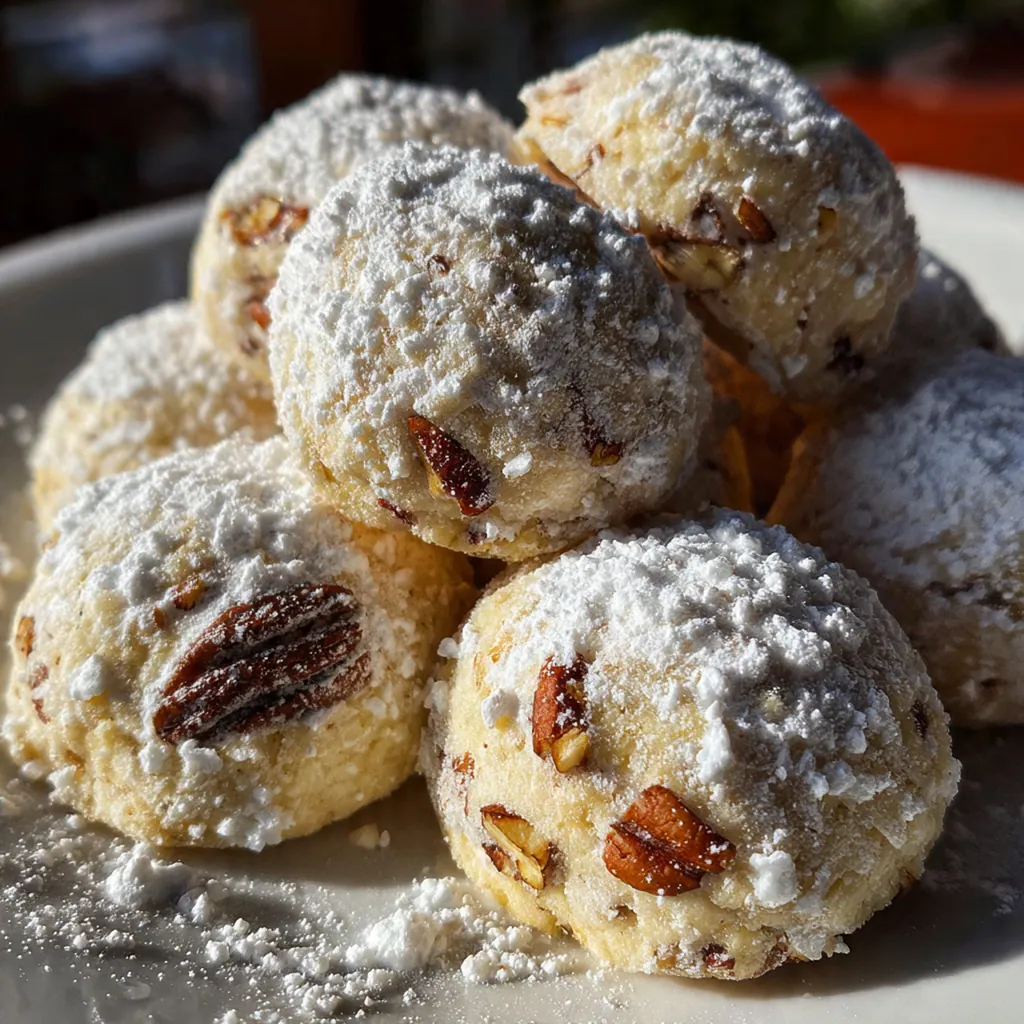
- Finely chopped walnuts: They give a wonderful toasty flavor and satisfying crunch. Chopping them finely ensures every bite is perfect.
- Ground cinnamon optional: This is my little secret for a warm, spiced twist that makes them even more festive for the holidays.
How to Make It
Prep Your Oven and Pans:
Begin by preheating your oven to 350°F and lining two baking sheets with parchment paper. This setup guarantees even baking and prevents any sticking, making cleanup a breeze later on.
Cream Butter and Sugar:
In a large bowl, beat the softened butter and powdered sugar together until the mixture is light and fluffy. This step incorporates air, which is key for that tender texture you’re after.
Mix in Flavorings:
Beat in the vanilla extract until it’s fully combined. If you’re using the optional cinnamon, add it now so its warm spice gets evenly distributed throughout your dough.
Incorporate Dry Ingredients:
Whisk the flour and salt together in a separate bowl. Gradually add this to your butter mixture, mixing on low speed until the flour just disappears. Overmixing here can make the cookies tough.
Fold in the Walnuts:
Use a spatula to gently fold the finely chopped walnuts into the dough. You want every scoop to have plenty of nutty goodness without breaking the walnuts down further.
Shape the Dough Balls:
Scoop out tablespoon-sized portions of dough and roll them into smooth one-inch balls between your palms. Place them about an inch apart on your prepared baking sheets.
Bake to Perfection:
Bake for 12 to 15 minutes until the bottoms are lightly golden and the cookies are set. They should remain pale on top for the ideal delicate texture.
First Powdered Sugar Coating:
Let the cookies cool on the sheet for 5 minutes until they’re firm enough to handle but still warm. Roll each one in the reserved powdered sugar for an initial snowy layer.
Final Coating and Cool:
Place the sugared cookies on a wire rack to cool completely. Once cool, give them a second roll in the powdered sugar for that thick, professional-looking finish that defines classic Russian Tea Cakes.
You Must Know
- Room temperature butter creams perfectly for a tender cookie
- Chop the walnuts finely so they don’t cause crumbling
- Don’t overbake, keep them pale on top
- The first sugar coat must happen while they’re still warm
- That second roll in sugar is non-negotiable for looks
Storage Tips
Store your cooled Russian Tea Cakes in an airtight container at room temperature where they’ll stay fresh and delicious for up to a week. For longer storage, you can freeze them beautifully. I place them in a single layer on a tray to freeze solid, then transfer them to a freezer bag for up to three months. When you’re ready, just thaw and give them a quick re-roll in a little fresh powdered sugar to restore their snowy appearance.
Ingredient Substitutions
If you have a nut allergy or simply want to switch things up, you can replace the walnuts with an equal amount of finely chopped pecans or hazelnuts for a different toasty flavor. For a nut-free version, try using an equal amount of toasted rolled oats pulsed in a food processor until fine. In a pinch, you can use salted butter but just omit the extra quarter teaspoon of salt from the recipe. While the cinnamon is optional, a touch of cardamom or nutmeg can also add a lovely aromatic twist.
Serving Suggestions
I love serving a plate of these snowy Russian Tea Cakes alongside a pot of strong black tea or a cup of rich coffee; the combination is simply classic. They’re also fantastic on a holiday cookie platter mixed with spritz cookies and chocolate crinkles for a beautiful variety. For a festive touch, pair them with a glass of mulled wine or hot chocolate during colder months. They’re so buttery and light, they practically disappear before your eyes.
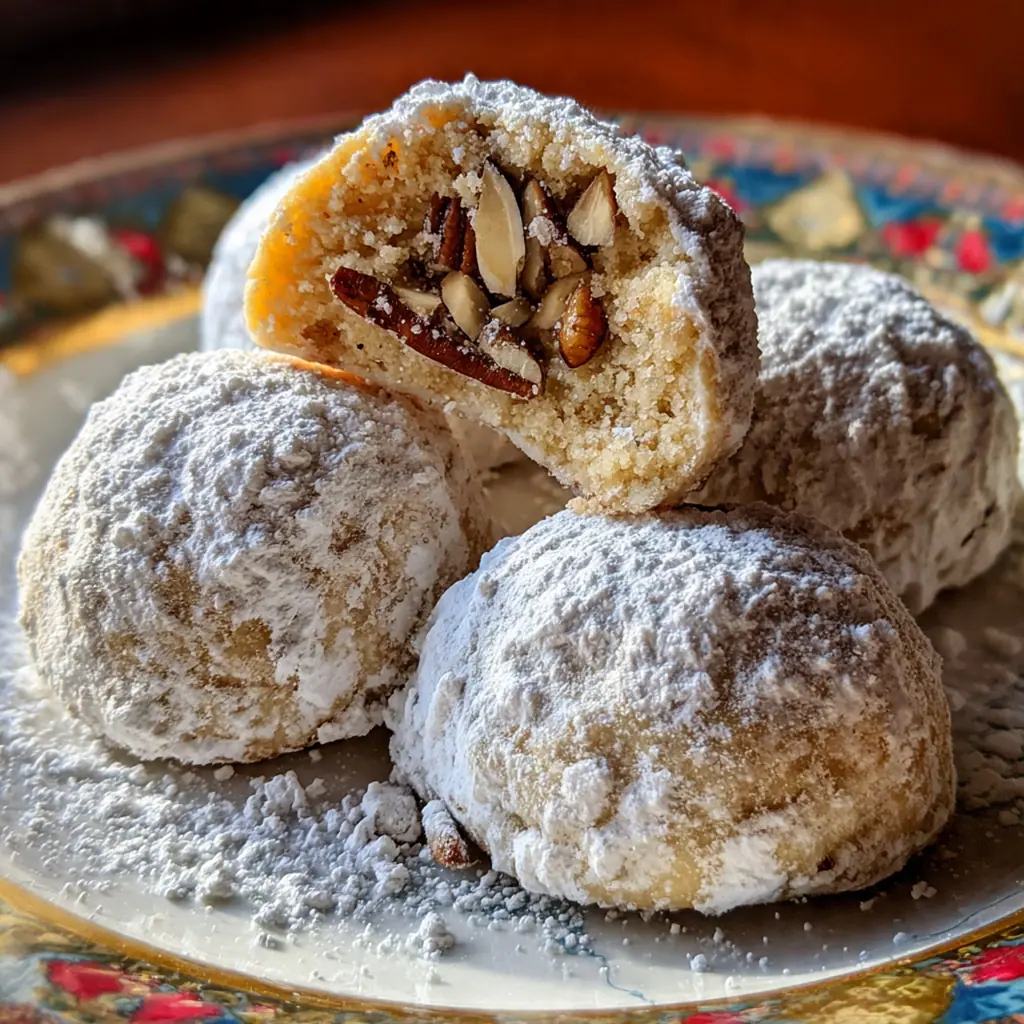
Cultural Context
These cookies hold a cherished spot in many culinary traditions, known as Russian Tea Cakes, Mexican Wedding Cookies, or Snowballs across different cultures. Their simple, rich ingredients of butter, nuts, and sugar were historically a sign of hospitality and celebration, often prepared for special gatherings and winter holidays. The technique of double-rolling in powdered sugar is a signature step that creates their distinctive melt-in-your-mouth quality and snowy appearance. It’s a recipe that has traveled and been adapted with love, connecting kitchens and generations through its delightful, buttery bite.
Pro Tips
- Use a cookie scoop for evenly sized balls every time
- A wire rack is essential for cooling without sogginess
- Sift your powdered sugar for coating for a super fine finish
- Let the dough come together gently, don’t overwork it
- I always make a double batch because they go so fast
Frequently Asked Questions
Finely chopped walnuts are traditional, as listed, but you can substitute pecans or hazelnuts for a different flavor. The key is to chop them very finely so they integrate seamlessly into the tender dough and don’t create large, crumbly chunks.
Absolutely. The dough can be made, shaped into balls, and chilled for up to 3 days before baking. Once baked and cooled, store them in an airtight container at room temperature for up to a week. For the best snowy look, you can give them a fresh roll in powdered sugar just before serving.
Pecans are a fantastic substitute for walnuts and are equally traditional. For a nut-free version, you can omit the nuts entirely and add an extra 1/4 cup of flour to the dough. The texture will be slightly different but still delicious.
Bake for the full 15 minutes or until the bottoms are just lightly golden. The cookies themselves should remain pale and not brown on top. They will firm up significantly as they cool, so don’t overbake them looking for a firm texture right out of the oven.
They’re perfect with coffee, tea (of course!), or a glass of cold milk. As part of a Russian-inspired dessert spread, pair them with other sweets like Pryaniki (spice cookies) or Medovik (honey layer cake). They’re ideal for holiday cookie trays.