


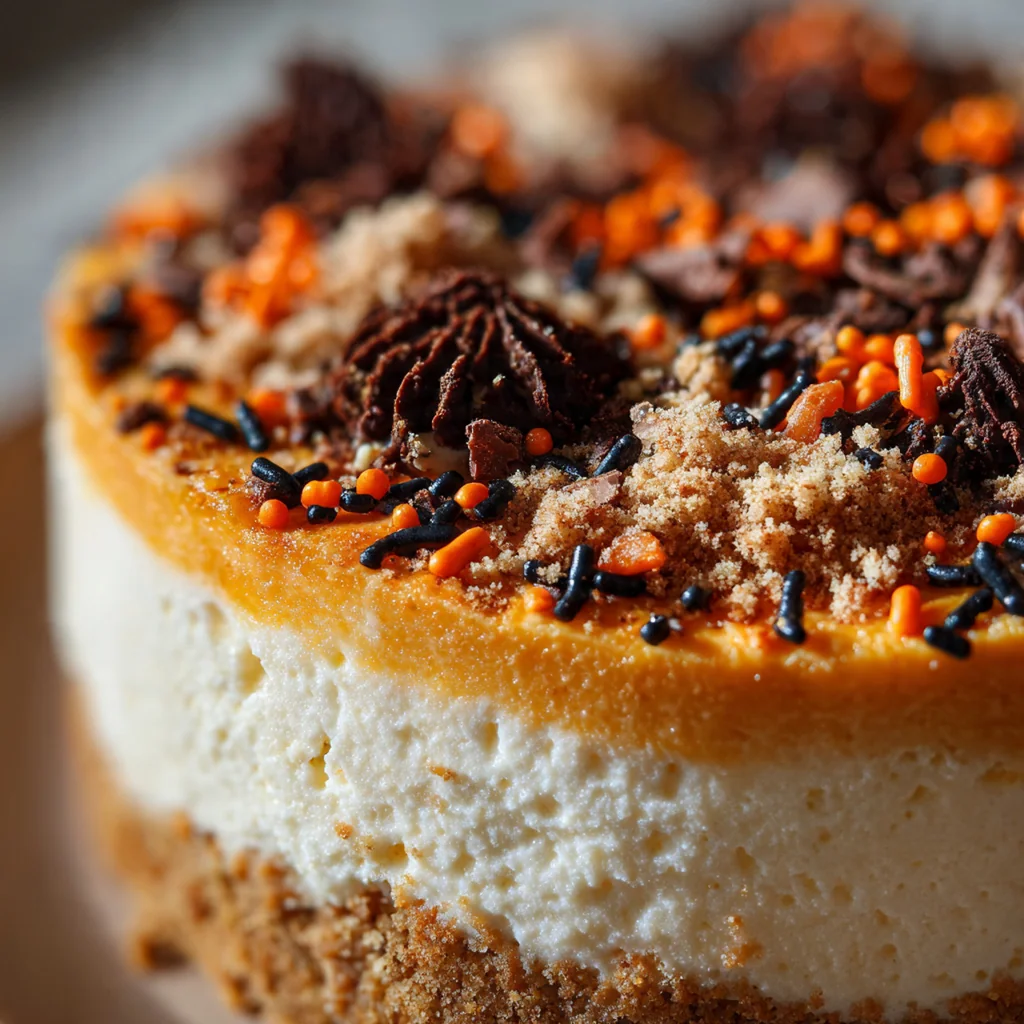
This No Bake Halloween Cheesecake is the ultimate festive dessert that solves the problem of party-day baking stress. It’s a creamy, dreamy American classic transformed into a spooky centerpiece with just a bit of food coloring and creative decoration. You’ll love how the bright orange color captures the playful spirit of the season without any oven time. I’ve made this for years, and it’s always the first dessert to disappear at any Halloween gathering, proving that simple, cool desserts are often the most memorable.
Why You'll Love This Recipe
- No oven required makes it perfect for hot days or busy party schedules
- The vibrant orange color is instantly festive and totally customizable
- You get a creamy, smooth texture that’s lighter than traditional baked cheesecake
- Decorating is a fun activity you can do with the kids
- I love that I can make it a full day ahead and just relax
Ingredients You’ll Need
- Graham cracker crumbs: they create the classic sweet and slightly spiced base look for fresh crumbs or make your own from whole crackers for the best flavor
- Granulated sugar: this little bit of sugar in the crust balances the graham’s subtle spice without making it too sweet
- Unsalted butter melted: it’s the glue that holds the crust together use melted and cooled butter for even distribution and a perfect sandy texture
- Cream cheese softened: the star of the show providing the rich tangy base full-fat brick-style cream cheese gives the best structure and flavor
- Powdered sugar: it sweetens the filling smoothly without any graininess because it dissolves instantly unlike granulated sugar
- Vanilla extract: a splash of vanilla rounds out the sweetness and adds a warm aromatic background pure extract makes a noticeable difference
- Heavy cream cold: whipping this cream gives the filling its light and airy texture make sure it’s very cold so it whips up with maximum volume
- Orange gel food coloring: this gives you that bold Halloween pumpkin color gel is concentrated so it won’t thin out your beautiful filling
- Black decorating icing: your edible paint for creating spooky spider webs and bats on top it’s easier than melted chocolate for detailed piping
- Halloween sprinkles: these are just for fun and add a playful crunch and extra color use your favorite mix for a personal touch
How to Make It
Prepare Your Pan and Crust:
Start by lightly greasing your springform pan so nothing sticks later. In a medium bowl, mix the graham cracker crumbs and sugar, then pour in the melted butter. You’re looking for a texture like wet sand that holds together when you squeeze it. Press this mixture firmly into the pan’s bottom with the flat bottom of a glass for an even layer, then chill it to set.
Whip the Cream Cheese Base:
In a large bowl, beat the room-temperature cream cheese until it’s completely smooth and lump-free. This step is crucial for that silky texture you want. Then, add in the powdered sugar and vanilla, starting on low speed to avoid a cloud of sugar. Once combined, beat it on medium until everything is incorporated, scraping the bowl down as you go.
Whip the Heavy Cream:
Pour your very cold heavy cream into a separate chilled bowl. Using your mixer’s whisk attachment or beaters, whip it on medium-high until you see stiff peaks form. This means when you lift the beaters, the cream holds a sharp point. Be careful not to go past this stage, or you’ll start making butter.
Fold Everything Together:
Now, gently fold the fluffy whipped cream into your cream cheese mixture with a rubber spatula. Use a wide, sweeping motion to keep as much air in as possible. Keep folding until there are no more white streaks and the batter is one uniform, creamy color.
Color the Filling:
Add your orange gel food coloring a little at a time, folding gently after each addition. Gel coloring is powerful, so you can control the shade from a pale pumpkin to a vibrant sunset orange. This is where the Halloween magic really starts to show.
Assemble and Chill:
Take your chilled crust from the fridge and pour the orange filling over it. Use an offset spatula to spread it into an even layer. Give the pan a few gentle taps on the counter to settle the filling and remove any pesky air bubbles. Then, cover it tightly and let it chill for at least four hours, though overnight is my secret for the perfect firm, sliceable texture.
Release and Decorate:
Run a thin knife around the inside edge of the springform pan to loosen the cheesecake. Unlatch the pan’s sides and lift them away. For the decorations, place your black icing in a piping bag or a zip-top bag with a tiny corner snipped off. Get creative with spider webs, bats, or simple drips. Add candy eyes and sprinkles for that final spooky touch right before you serve.
Slice and Serve:
For the cleanest slices, dip a sharp knife in hot water and wipe it dry before each cut. This helps the knife glide through the creamy filling without sticking or dragging. Serve each slice immediately while it’s perfectly chilled from the fridge.

You Must Know
- Room temperature cream cheese is non-negotiable for a smooth filling
- Gel food coloring gives vibrant color without thinning the batter
- A springform pan is the only way to get this cheesecake out cleanly
- I always make it the night before for the best results
Storage Tips
Store your finished No Bake Halloween Cheesecake covered tightly with plastic wrap or in a cake carrier in the refrigerator. It’ll keep its best texture for about 3 days, though it’s still safe to eat for up to 5. I don’t recommend freezing this one because the whipped cream can separate and become grainy when thawed, which ruins that lovely smooth mouthfeel. For leftovers, just pop a slice on a plate and enjoy it straight from the fridge.
Ingredient Substitutions
If you need a gluten-free version, simply swap the graham cracker crumbs for an equal amount of gluten-free cookie crumbs – ginger snaps are a fantastic choice. For the heavy cream, you can use full-fat coconut cream that’s been chilled overnight, but whip it straight from the can without shaking it first. Dairy-free cream cheese and plant-based butter work too, though the final texture might be a bit softer. Don’t have gel coloring? Use a paste or concentrate, but avoid liquid food coloring as it can make your filling runny. Melted dark chocolate works just as well as black icing for piping if you let it cool slightly first.
Serving Suggestions
I love serving this cheesecake straight from the fridge with an extra dollop of whipped cream on the side for those who want it extra indulgent. For a real Halloween party spread, pair it with some ghostly meringue cookies, a bowl of candy corn, and a big pitcher of cold apple cider or pumpkin spice hot chocolate. It also makes a great centerpiece on a dessert table next to caramel apples and other spooky treats, letting guests help themselves when they’re ready for something cool and creamy.
Cultural Context
The no-bake cheesecake is a distinctly American innovation, born from mid-20th century convenience cooking and the widespread adoption of refrigerators. It trades the traditional water bath and precise baking of a New York-style cheesecake for a lighter, airier texture stabilized by whipped cream. The Halloween twist, with its bold orange color and playful decorations, taps right into the holiday’s evolution from a simple harvest celebration to a massive pop-culture event centered on creativity and sweets. It’s a dessert that’s all about fun, ease, and bringing people together for a festive occasion without any culinary stress.
Pro Tips
- Chill your mixing bowl before whipping the cream for faster, higher peaks
- Let the cheesecake set overnight for the cleanest possible slices
- Use a hot knife for serving to get those perfect restaurant-style wedges
- A little gel coloring goes a very long way so add it slowly
- My family loves adding different sprinkle mixes every year
Frequently Asked Questions
For the vibrant orange color, a gel food coloring is highly recommended over liquid drops. Gel colors are more concentrated, so you need less (starting with 1/2 tsp), which won’t thin out your creamy cheesecake filling. It provides an intense, Halloween-perfect hue without affecting the texture.
Absolutely! This dessert is ideal for making ahead. The cheesecake needs at least 4 hours to set fully in the refrigerator. For best results, you can make it the day before, let it set overnight, and add the spooky black icing decorations just before serving to keep them sharp.
If you don’t have graham crackers, you can use an equal amount of digestive biscuit crumbs, crushed vanilla wafers, or even Oreo cookie crumbs (with the filling scraped out for a chocolate crust). Just mix your chosen crumbs with the melted butter and sugar as directed.
The cheesecake is set and ready when it’s firm to a gentle touch around the edges and doesn’t jiggle loosely in the center. This typically takes a minimum of 4 hours in the refrigerator. For the cleanest slices, let it chill for the full time, or even overnight.
This rich and creamy cheesecake is delicious on its own. For a festive presentation, serve it with a dollop of whipped cream, a drizzle of chocolate sauce, or a scattering of Halloween-themed sprinkles. A cup of strong coffee or a glass of cold milk pairs perfectly to balance the sweetness.