

Classic Butter Mints are a little piece of culinary nostalgia you can easily make in your own kitchen. This beloved American candy has been a staple at weddings and family gatherings for generations, offering a smooth, creamy texture that melts in your mouth. The magic comes from the simple combination of butter and cream cheese, which creates that signature richness. Making them yourself means you control the freshness and strength of that cool mint flavor, and it’s a surprisingly straightforward process.
Why You'll Love This Recipe
- That impossibly creamy, melt-in-your-mouth texture is genuinely irresistible
- A refreshingly cool mint flavor that’s perfect after a meal
- It’s a no-bake recipe, so it’s easy and fun to do with kids
- You can customize the color for holidays or special events
- There’s nothing quite like the homemade version of this classic
Ingredients You’ll Need
- Unsalted butter softened: Using unsalted butter lets you control the exact level of salt in your mints and ensures a pure, sweet cream flavor. Make sure it’s truly softened to room temp for the smoothest dough.
- Cream cheese softened: This is the secret ingredient that gives these classic butter mints their signature creamy body and slight tang. Full-fat brick-style cream cheese works best, not the spreadable kind.
- Peppermint extract: This provides the bright, cooling mint flavor that defines the candy. Look for pure extract over imitation for the most authentic taste, or try peppermint oil for a stronger kick.
- Fine sea salt: A small amount of salt is crucial to balance the intense sweetness of the sugar and heighten all the other flavors. Its fine texture dissolves easily into the butter mixture.
- Confectioners’ sugar sifted: This ultra-fine sugar creates the mints’ smooth, non-gritty texture. Sifting is non-negotiable here to prevent any annoying lumps in your final dough.
- Whole milk or heavy cream: Just a tablespoon helps bring the very thick dough together into a workable, pliable consistency. Heavy cream adds a touch more richness if you have it on hand.
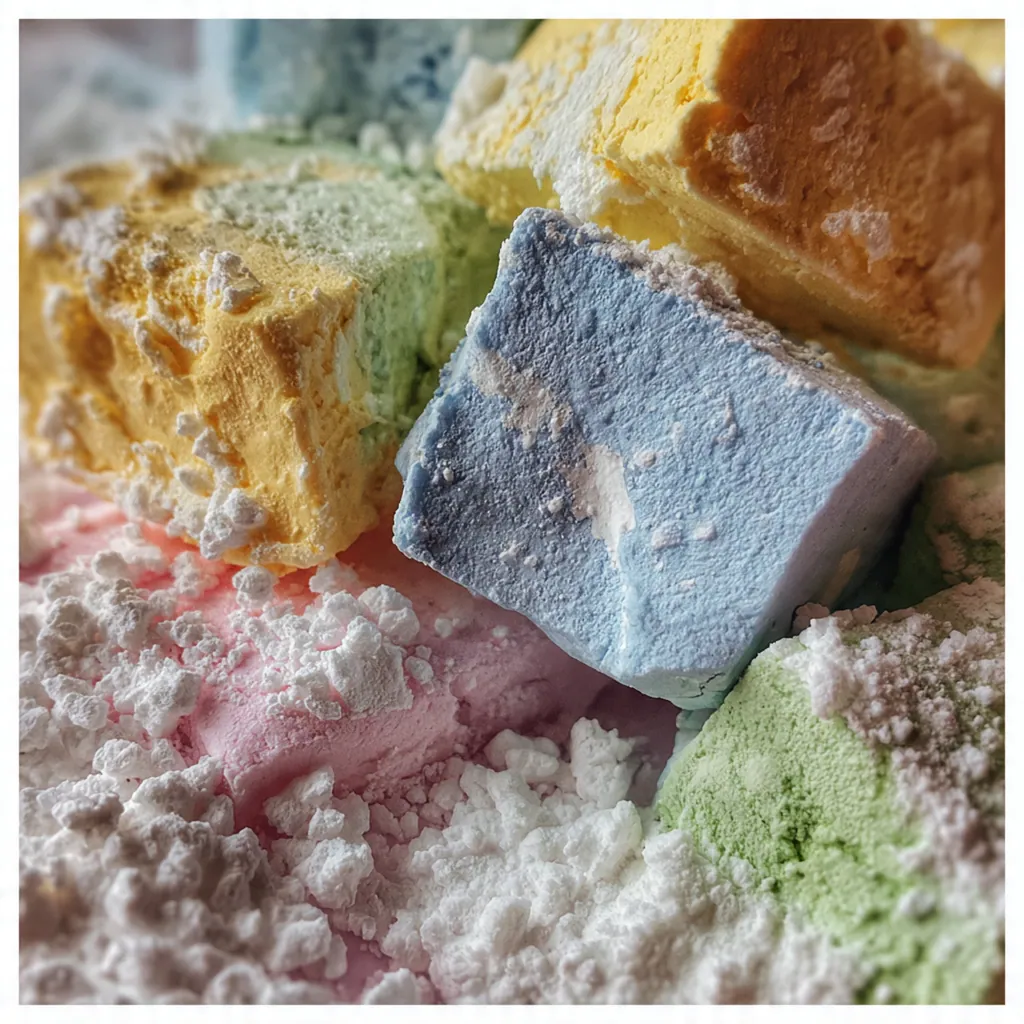
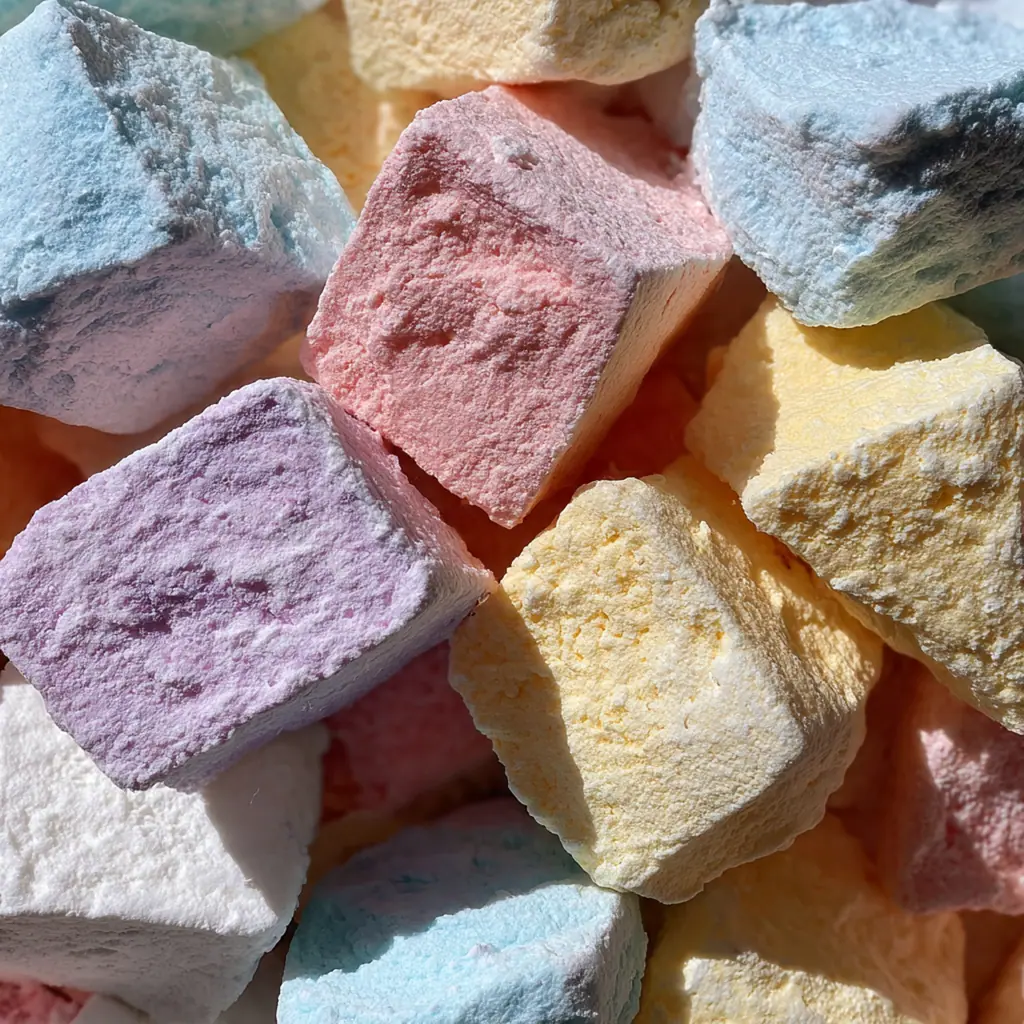
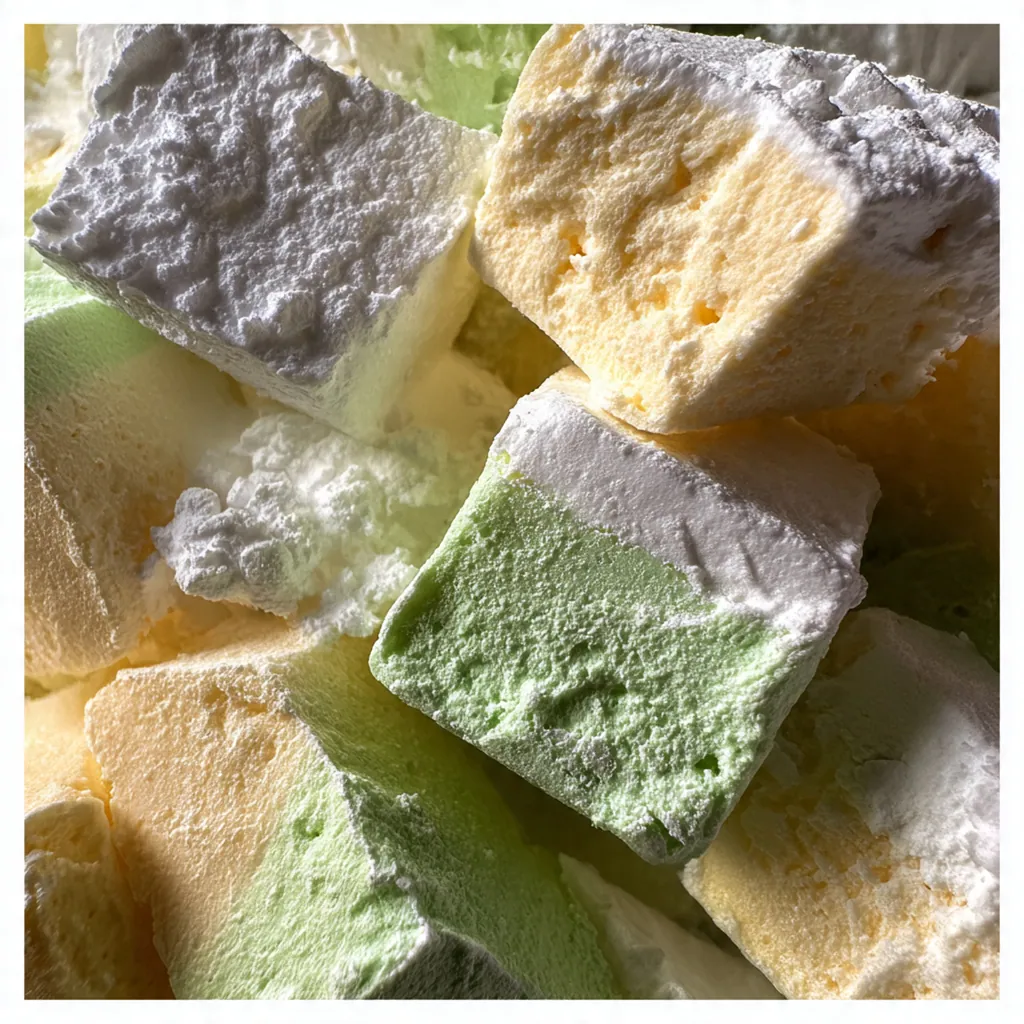
- Green food coloring optional: A drop or two gives your mints that classic pastel green hue, making them instantly recognizable. Gel coloring works best as it’s more concentrated and won’t thin the dough.
- Granulated sugar for coating: Rolling the mints in plain sugar gives them a slight sparkle and a delicate, sandy texture on the outside that contrasts beautifully with the creamy interior.
How to Make It
Cream The Butter and Cream Cheese:
In a large bowl, use an electric mixer to beat the softened butter and cream cheese together on medium speed until the mixture is completely smooth and unified. This usually takes two to three minutes. Starting with truly room-temperature ingredients here is the key to avoiding any graininess in your final classic butter mints.
Incorporate Flavor and Salt:
With the mixer on low, add the peppermint extract and fine sea salt to the creamy base. Mix just until they disappear into the mixture. Adding the salt now ensures it gets evenly distributed, which balances the sweetness perfectly.
Add The Confectioners’ Sugar Gradually:
Keep your mixer on low speed and begin adding the sifted confectioners’ sugar one cup at a time. Let each cup fully incorporate before adding the next. The mixture will become very thick and crumbly, which is exactly what you want at this stage.
Bring The Dough Together:
Add your tablespoon of milk or cream to the bowl. Mix on low until the dough starts to clump together and form a ball. If it still seems too dry and won’t come together, add another teaspoon of liquid. Be patient, it will happen.
Add Color If Using:
If you want colored mints, now is the time. Add a single drop of food coloring to the dough and mix it in on low. You can always add more to reach your desired shade, but you can’t take it away, so start light.
Knead The Dough:
Turn the mint dough out onto a work surface lightly dusted with confectioners’ sugar. Gently knead it with your hands for a minute or two until it’s smooth, pliable, and all the color is even. This step transforms it from a crumbly mix into a perfect candy dough.
Portion and Roll The Balls:
Pinch off small pieces of dough and roll them between your palms into smooth, one-inch balls. You should end up with about two dozen. For perfectly uniform mints, a small cookie scoop is your best friend here.
Coat and Shape The Mints:
Pour some granulated sugar into a small bowl. Roll each ball in the sugar to give it a light, even coating. Place them on a parchment-lined baking sheet and gently press down with a fork to flatten slightly and create that classic crisscross pattern.
Chill Until Firm:
Once all your classic butter mints are shaped, slide the whole baking sheet into the refrigerator. Let them chill for at least one hour to firm up completely. This final set is what gives them their perfect, sliceable texture.
You Must Know
- Room temperature ingredients are non-negotiable for smooth mixing
- Sifting the powdered sugar prevents gritty mints
- Chill the dough if it gets too soft while shaping
- You can make a double batch and freeze half
- They taste even better the next day
Storage Tips
Store your classic butter mints in an airtight container in the refrigerator where they’ll stay firm and fresh for up to two weeks. If you want to keep them longer, they freeze beautifully for up to three months – just layer them between sheets of parchment paper in a freezer-safe container. Thaw them overnight in the fridge before serving to prevent any condensation from making them sticky. I always keep a batch in the freezer for last-minute gifts or party needs.
Ingredient Substitutions
If you’re out of cream cheese, you can use an equal amount of additional softened butter, though you’ll lose a bit of that signature creamy tang. For a stronger, more potent mint flavor, swap the extract for a few drops of pure peppermint oil, but be careful as it’s much more concentrated. Any liquid dairy like half-and-half can stand in for the milk or cream in a pinch, and you can use any color of food coloring or leave them plain white. In a real bind, you could skip the sugar coating, but you’ll miss that pleasant textural contrast.
Serving Suggestions
These mints are the perfect elegant finish to a dinner party, served on a small dish alongside coffee or tea. I love packing a handful into a pretty glass jar tied with a ribbon for a thoughtful homemade gift that always impresses. For a party, scatter a bowl of them by the door as a sweet farewell treat, or pair them with dark chocolate candies on a dessert board. Their refreshing quality makes them ideal for clearing the palate between courses or after a rich meal.
Cultural Context
Butter mints hold a special place in American culinary tradition, particularly in the South and Midwest where they’ve been a staple at church suppers, wedding receptions, and holiday tables for decades. Their origin is a bit fuzzy, but they likely evolved from old-fashioned ‘after dinner mints’ or ‘butter creams’ that were popular in the early 20th century, prized for their ability to aid digestion. The specific combination of butter and cream cheese gives this version its uniquely creamy, almost fudge-like texture that sets it apart from harder, more sugary mints. Making them at home continues a lovely tradition of simple, from-scratch confections meant to be shared.
Pro Tips
- A stand mixer with a paddle attachment makes quick work of the thick dough
- Use gel food coloring for vibrant color without adding liquid
- Let shaped mints sit uncovered for 30 minutes before boxing them up
- A cookie scoop guarantees every mint is the same size
- I always make a double batch because they disappear fast
Frequently Asked Questions
For the best texture and flavor, use unsalted butter that has been softened to room temperature. This allows it to cream perfectly with the cream cheese, creating the signature smooth, melt-in-your-mouth consistency. Using unsalted butter also lets you control the exact level of saltiness in your mints.
Absolutely! Classic Butter Mints are an excellent make-ahead treat. Once prepared and coated in sugar, store them in an airtight container at room temperature. They’ll keep their creamy texture and fresh mint flavor for up to a week, making them perfect for party planning.
While cream cheese contributes to the signature creamy texture, you can substitute it with an equal amount of full-fat mascarpone cheese. Avoid low-fat alternatives, as the fat content is crucial for the proper consistency and rich mouthfeel of classic butter mints.
The dough is ready when it’s smooth, pliable, and no longer sticky. After mixing, it should hold together in a ball without crumbling. If it’s too soft, a brief 30-minute chill in the fridge will make it easier to roll and cut into perfect little mints.
Serve Classic Butter Mints as a delightful after-dinner treat alongside coffee or tea. They’re also a perfect addition to dessert tables at American-themed parties, weddings, or holiday gatherings, offering a refreshing, palate-cleansing finish to a rich meal.