

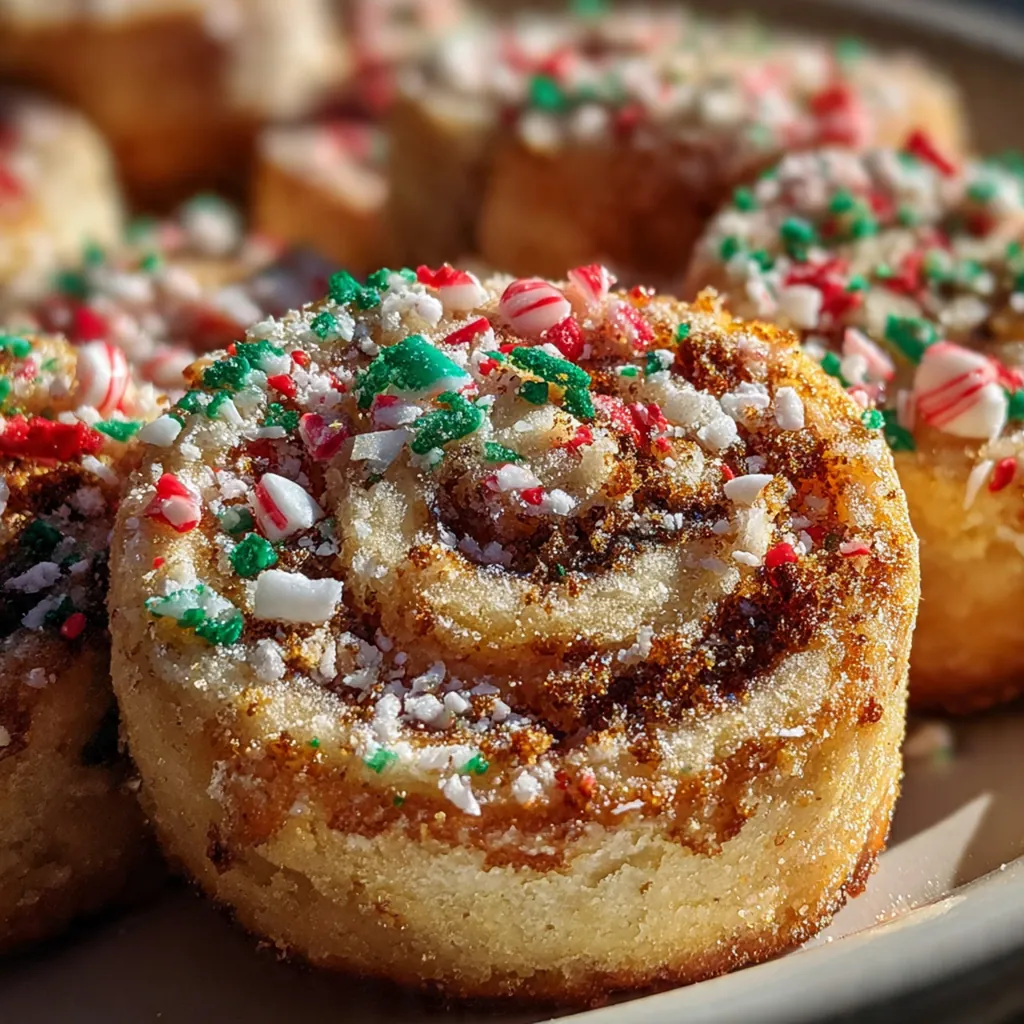
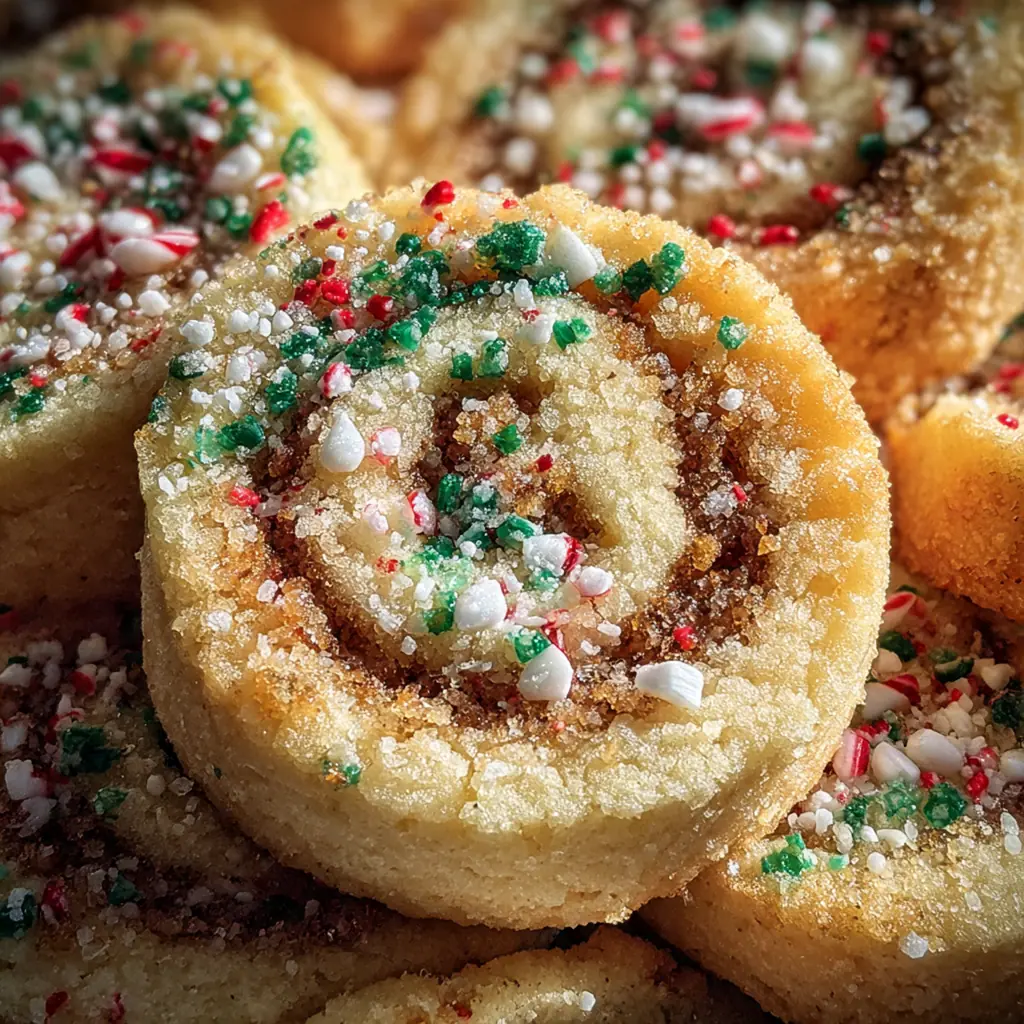
Holiday Pinwheel Cookies have been the star of my family’s Christmas baking for decades. These classic American treats with their vibrant red and green swirls bring festive cheer to any gathering. They’re as fun to make as they are to eat, and they always impress on a holiday cookie tray. What I love most is how the buttery dough and hint of peppermint capture the essence of the season in every bite.
Why You'll Love This Recipe
- They’re visually stunning with festive red and green swirls that wow everyone
- Perfect for make-ahead baking—the dough log can be frozen for later use
- Soft and buttery with a hint of peppermint for that classic holiday flavor
- A great activity to do with kids during the holiday season
- I’ve never brought these to a party without someone asking for the recipe
Ingredients You’ll Need
- All-purpose flour: provides structure and tenderness for the cookie dough; I always use unbleached for consistent results.
- Baking powder: gives a slight lift so the cookies aren’t too dense; make sure yours is fresh for best rise.
- Salt: balances the sweetness and enhances all the flavors; a fine sea salt blends in perfectly.
- Unsalted butter: allows you to control the saltiness and contributes rich flavor; softened butter creams smoothly with sugar.
- Granulated sugar: sweetens the dough and helps create a tender texture; regular white sugar works great here.
- Egg: binds the dough together and adds moisture; use a large egg at room temperature for even mixing.
- Vanilla extract: adds warm, aromatic flavor that complements the peppermint; pure extract makes a noticeable difference.
- Peppermint extract: gives that classic holiday minty kick; it’s optional but I never skip it for festive flair.
- Red gel food coloring: creates vibrant red swirls without thinning the dough; gel colors are more intense than liquid.
- Green gel food coloring: for the festive green portion; gel ensures bright colors that bake up beautifully.
- Coarse sugar: for rolling the log if you want extra sparkle; it adds a nice crunch and visual appeal.
- Holiday sprinkles: for decorating the cookies before baking; they stick to the dough and make each cookie special.
How to Make It
Combine Dry Ingredients:
In a medium bowl, whisk together the flour, baking powder, and salt until well blended. Setting this aside first means your dry mix is ready to go when you need it, which helps prevent overmixing later.
Cream Butter and Sugar:
In a large bowl, use an electric mixer to beat the softened butter and granulated sugar until light and fluffy. This takes about 2-3 minutes and incorporates air for a tender cookie.
Add Wet Ingredients:
Beat in the egg, vanilla extract, and peppermint extract if you’re using it. Mix until everything is fully combined; this ensures the flavors are evenly distributed throughout the dough.
Incorporate Dry Ingredients:
Gradually add the dry ingredients to the wet mixture, mixing on low speed. Stop as soon as a soft dough forms; overmixing can make your Holiday Pinwheel Cookies tough.
Color the Dough:
Divide the dough into two equal portions. Mix red gel food coloring into one portion and green into the other until you get even, vibrant colors. I use a spatula for this to avoid staining my hands.
Roll and Layer:
On a lightly floured surface, roll each dough portion into a rectangle about 1/4-inch thick. If the dough feels too soft, chill it for 15 minutes first. Then place the green rectangle on top of the red one and trim any uneven edges.
Form and Chill the Log:
Starting from one long side, tightly roll the layered dough into a log. Wrap it snugly in plastic wrap and refrigerate for at least an hour; this firms it up so you get clean slices.
Slice and Bake:
Preheat your oven to 350°F and line baking sheets with parchment paper. Unwrap the chilled log and use a sharp knife to slice it into 1/4-inch rounds, placing them 2 inches apart on the sheets. Bake for 8-10 minutes until the edges are just set.
Cool Completely:
Let the Holiday Pinwheel Cookies cool on the baking sheets for 5 minutes before transferring them to a wire rack. They’ll firm up as they cool, so don’t skip this step for the perfect texture.
You Must Know
- Use gel food coloring for vibrant colors without thinning the dough
- Chill the dough thoroughly before slicing for clean, even cuts
- If the dough cracks when rolling, let it sit at room temperature briefly
- I always bake one test cookie first to adjust timing for my oven
Storage Tips
Store your cooled Holiday Pinwheel Cookies in an airtight container at room temperature where they’ll stay fresh and buttery for up to a week. If you want to get ahead, you can wrap the dough log tightly in plastic wrap and freeze it for up to three months—just slice and bake from frozen, adding a minute or two to the baking time. I often make a double batch and freeze one log for last-minute guests, and they taste just as amazing.
Ingredient Substitutions
For a gluten-free version, swap the all-purpose flour with a trusted 1:1 gluten-free flour blend; I’ve had great results with brands that include xanthan gum. If you’re dairy-free, vegan butter works well here, just make sure it’s softened. For egg-free, you can try a flax egg substitute, though the texture might be slightly different. And if you don’t have peppermint extract, a bit of almond or more vanilla extract still gives a lovely flavor.
Serving Suggestions
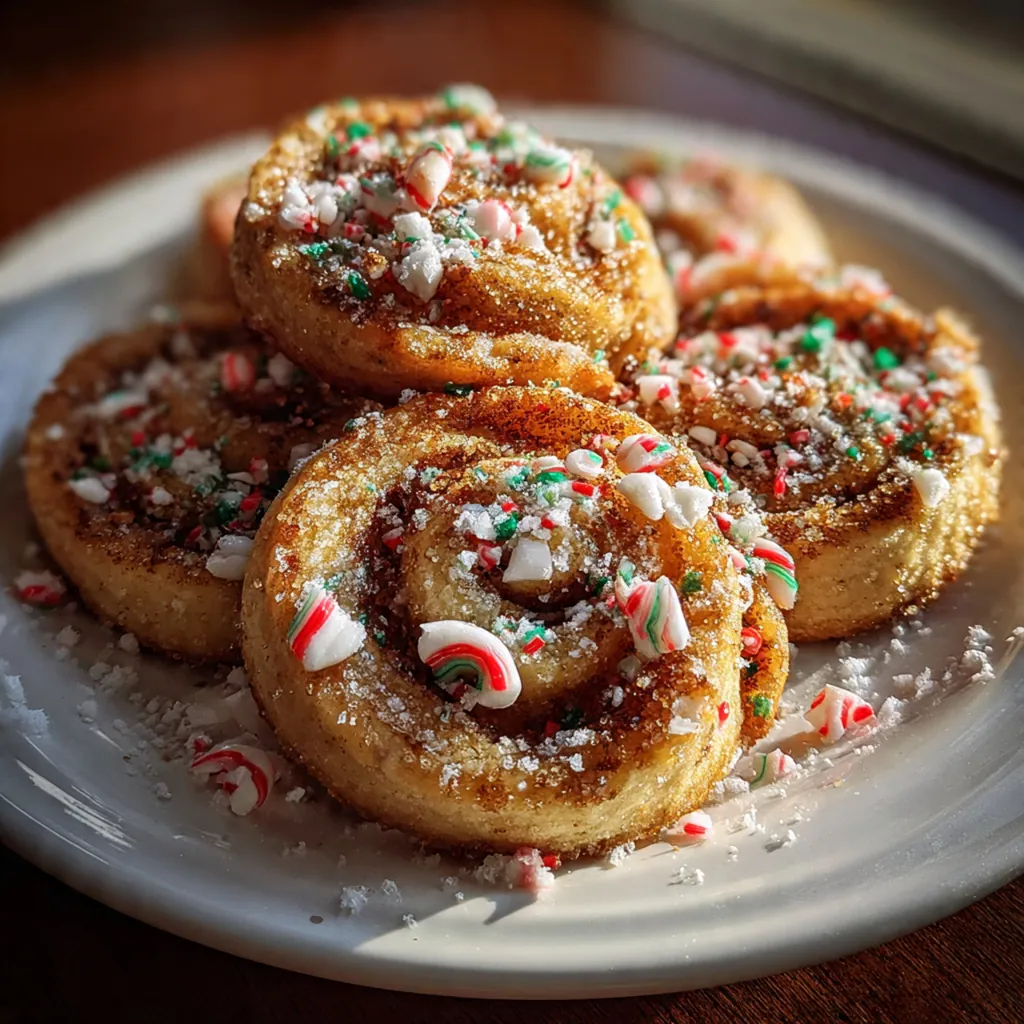
I love serving these Holiday Pinwheel Cookies with a glass of cold milk or a mug of hot cocoa for the ultimate cozy treat. They’re perfect for holiday cookie platters alongside classics like gingerbread men and sugar cookies—the colorful swirls always steal the show. You can also pack them in decorative tins as edible gifts; they travel well and everyone appreciates the homemade touch.
Cultural Context
Pinwheel cookies are a beloved staple in American holiday baking, often appearing at cookie exchanges, family gatherings, and festive parties. Their origins trace back to mid-20th century home kitchens where bakers got creative with simple sugar cookie dough to make visually impressive treats. The red and green swirls have become synonymous with Christmas cheer, embodying the spirit of celebration and sharing. It’s a tradition that brings generations together, with many families passing down their own tweaks on the recipe.
Pro Tips
- Gel food coloring gives the brightest swirls without altering dough consistency
- A sharp knife and chilled log are key for perfect pinwheel slices
- Measure dough thickness with a ruler for cookies that bake evenly
- I always trim the edges before rolling for neater swirls in every cookie
Frequently Asked Questions
Gel food coloring is highly recommended for these Holiday Pinwheel Cookies. It provides vibrant red and green colors without adding excess liquid that could change the dough’s consistency, unlike liquid food coloring.
Absolutely! You can prepare the dough logs, wrap them tightly, and refrigerate for up to 3 days before slicing and baking. You can also freeze the unbaked logs for up to 3 months—just thaw in the refrigerator before proceeding.
If you don’t have peppermint extract, you can simply use an additional 1/2 teaspoon of vanilla extract for a classic flavor. For other festive notes, almond extract or a touch of orange extract would also work beautifully.
The cookies are done when the edges are just set and lightly golden, about 8-10 minutes. They’ll still look soft in the center but will firm up as they cool on the baking sheet. Avoid overbaking for a tender texture.
These festive cookies are perfect on a holiday dessert platter alongside other American classics like gingerbread men, sugar cookies, and fudge. They pair wonderfully with hot cocoa, coffee, or a glass of cold milk.