

This classic French fruit tart recipe is the dessert you’ll be proud to present at any table. It captures the elegance of a Parisian patisserie with its buttery crust, silky vanilla cream, and crown of glistening berries. As a French classic, it balances sweetness and bright tartness in every single bite. I love making this because it feels fancy but the steps are completely approachable, and it always earns gasps of admiration when you bring it out.
Why You'll Love This Recipe
- You get the perfect trio of buttery, creamy, and fruity in every single slice
- It looks incredibly impressive but the components are all made ahead
- You can customize the top with any fresh seasonal fruits you have
- I make this for every summer gathering and it disappears first
Ingredients You’ll Need
- All-purpose flour: this provides the structure for your tart shell, giving it a tender yet sturdy crumb that holds the filling perfectly.
- Granulated sugar: sweetens both the crust and the pastry cream, using the same type keeps your pantry simple.
- Unsalted butter, cold and cubed: the key to a flaky shortcrust is cold butter creating little steam pockets as it bakes.
- Large egg yolk: binds the dough with rich flavor and color, making it tender instead of tough.
- Ice water: hydrates the flour just enough to bring the dough together without developing gluten.
- Whole milk: forms the base of the pastry cream for a rich, silky texture and neutral dairy flavor.
- Large egg yolks: thicken the pastry cream naturally and give it that luxurious yellow hue and custardy taste.
- Cornstarch: the stabilizer that ensures your pastry cream sets up firm and sliceable, not runny.
- Vanilla extract: use pure extract for the best flavor, it’s the soul of the classic pastry cream.
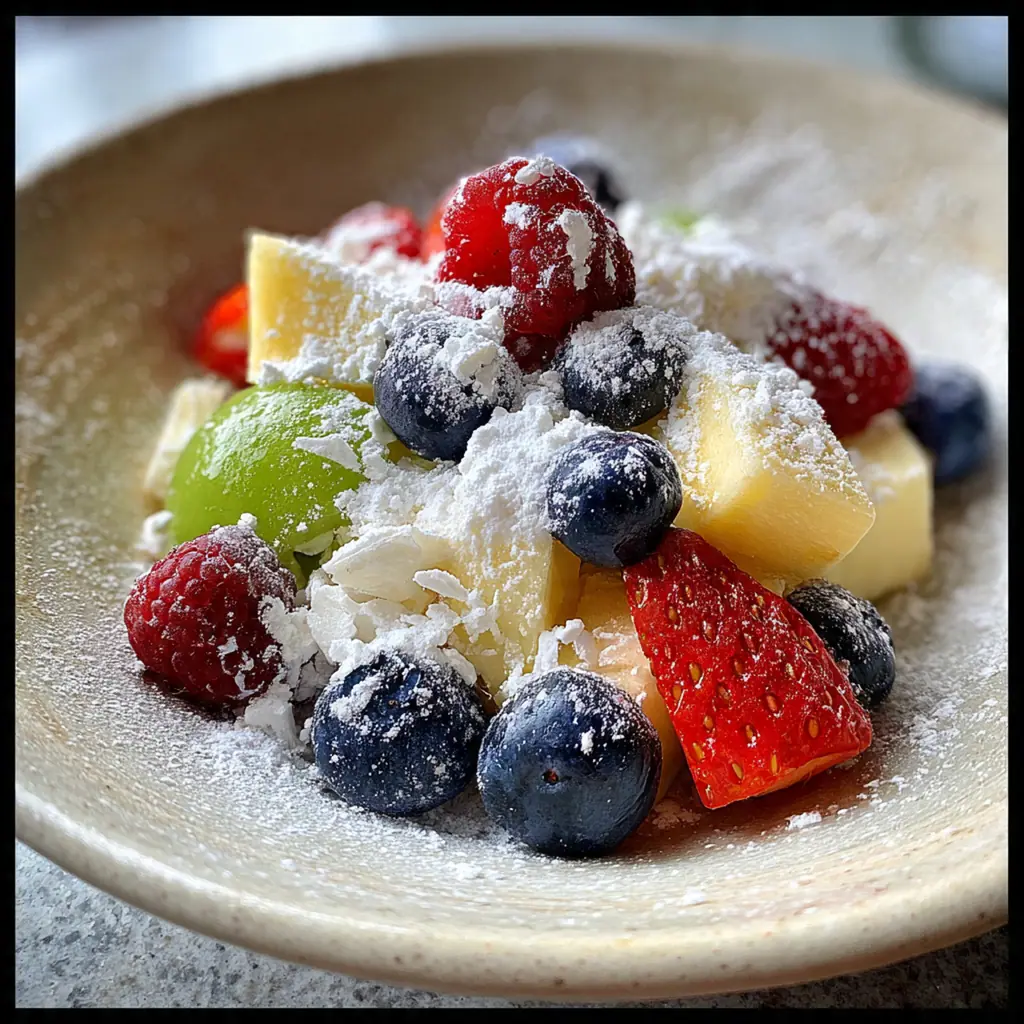
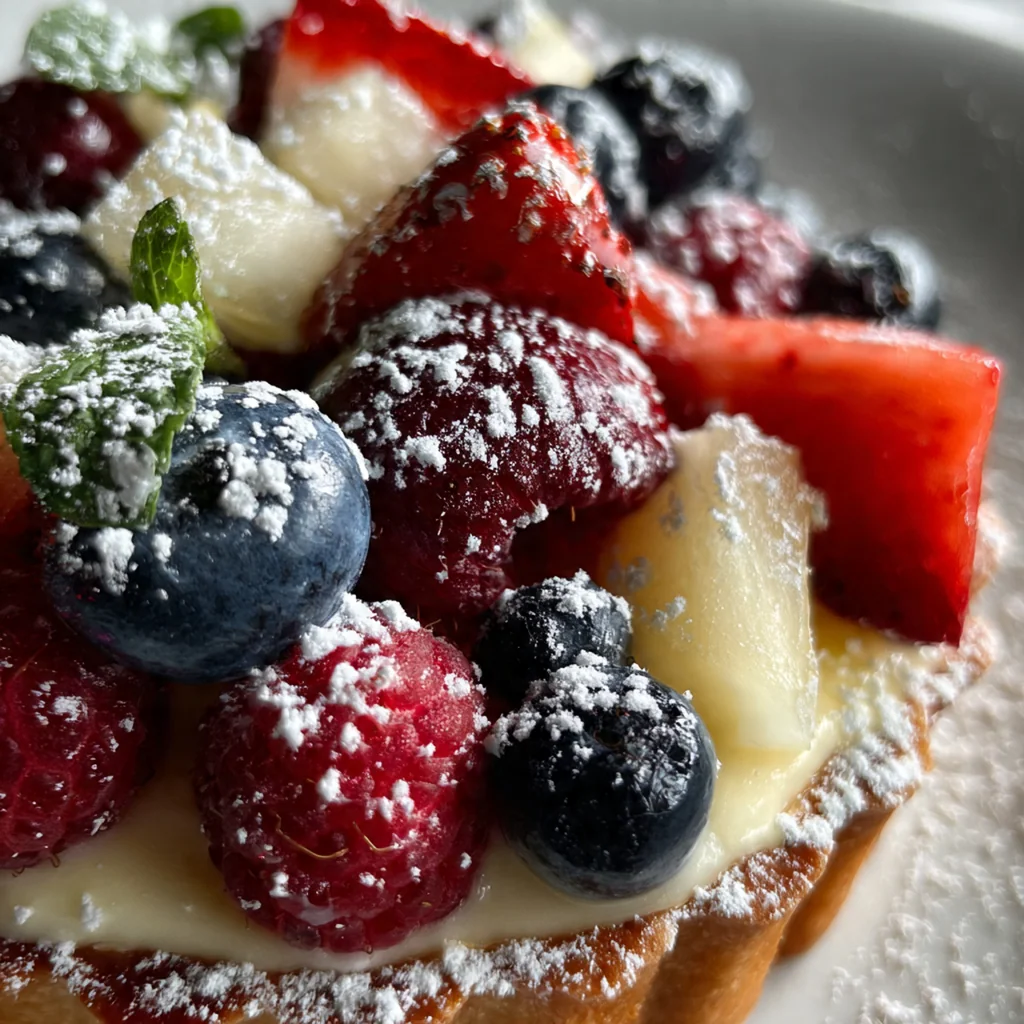
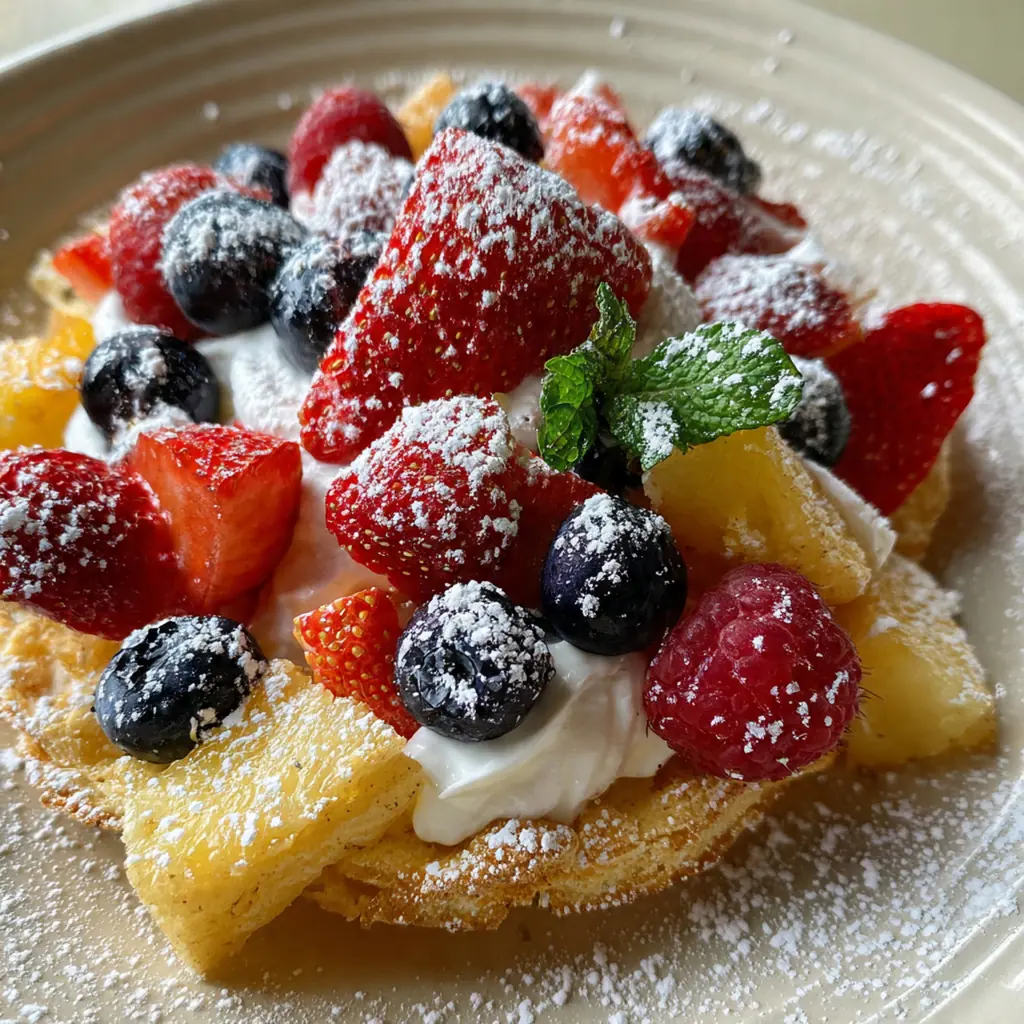
- Mixed fresh berries: choose a colorful mix for visual appeal and a balance of sweet and tart flavors.
- Apricot jam: when warmed and brushed on, it creates that professional glossy seal and adds a hint of sweetness.
- Fresh mint leaves: an optional but beautiful garnish that adds a pop of color and fresh aroma.
- Powdered sugar: a light dusting just before serving makes the tart look finished and elegant.
How to Make It
Make The Tart Dough:
In your food processor, pulse the flour and sugar together briefly. Add the cold, cubed butter and pulse until you get coarse crumbs – this quick method keeps the butter cold and ensures flakiness. Then add the egg yolk and ice water, pulsing just until the dough clumps. Turn it out, shape it into a disk, wrap it, and chill. This rest relaxes the gluten so your crust won’t shrink in the pan.
Roll And Blind Bake The Crust:
On a lightly floured surface, roll the chilled dough into a 12-inch circle. Gently lift and fit it into your tart pan, pressing it into the corners without stretching. Trim the excess, prick the bottom with a fork, then line with parchment and fill with pie weights. This blind baking step sets the shape and prevents bubbles, giving you a crisp, golden shell.
Bake To Golden Perfection:
Bake the weighted crust for 15 minutes at 375°F, then carefully remove the parchment and weights. Return it to the oven for another 10 minutes until it’s uniformly golden brown and dry to the touch. Let it cool completely on a wire rack. A fully cooled crust is essential to prevent your creamy filling from turning soggy when you assemble.
Prepare The Vanilla Pastry Cream:
Heat the milk in a saucepan until it just starts to simmer. In a separate bowl, vigorously whisk the sugar, egg yolks, and cornstarch until they’re pale and thick – this step is called blanching and it prevents the eggs from scrambling. Slowly stream in the hot milk while whisking constantly, then return everything to the pan.
Cook And Chill The Cream:
Cook the mixture over medium heat, whisking constantly, until it thickens and bubbles for a full minute. This cooks out the starchy cornstarch flavor. Remove it from the heat and stir in the vanilla and butter until everything is smooth and luxurious. Press plastic wrap directly on the surface and chill it thoroughly – a cold, firm cream is easy to spread.
Assemble The Tart:
Once both components are completely cool, spread the pastry cream evenly into the tart shell with an offset spatula. Now artfully arrange your mixed berries on top in any pattern you like. I start with the larger berries and fill in with smaller ones for a lush, abundant look.
Glaze And Set:
Gently heat the apricot jam with a splash of water until it’s melted and fluid. Strain it through a sieve to remove any fruit bits for a perfectly smooth glaze. Using a pastry brush, lightly brush the warm glaze over all the berries. This gives them that beautiful patisserie shine and keeps them fresh. Chill the whole tart for at least an hour to let everything set before you slice into it.
You Must Know
- Cold butter is non-negotiable for a flaky, tender crust
- Chill the pastry cream until it’s completely firm before assembling
- A removable-bottom tart pan is your best friend for clean slices
- Brush the apricot glaze while it’s still warm for the glossiest finish
- I always make the components a day ahead to streamline the process
Storage Tips
Store your finished tart covered loosely in the refrigerator, and it’ll keep beautifully for up to two days. The crust will start to soften the longer it sits with the creamy filling, so for the absolute best texture, aim to serve it within 24 hours of assembly. You can prep the crust and pastry cream separately a full day ahead, keeping the crust at room temperature in an airtight container and the cream in the fridge, then assemble and glaze the day you plan to serve. I don’t recommend freezing the assembled tart as the cream and fruit texture will suffer, but you can freeze the baked, cooled crust wrapped tightly for up to a month.
Ingredient Substitutions
If you’re out of fresh berries, thinly sliced stone fruits like peaches or nectarines work wonderfully in the summer, or even poached apple or pear slices in the fall. For the glaze, you can use any clear, lightly flavored jam like apple or peach if apricot isn’t your thing. In a pinch, a simple syrup made from equal parts sugar and water boiled together can provide shine, though it won’t have the same flavor. For a dairy-free version, you can experiment with plant-based butter and milk in both the crust and cream, but note the texture of the pastry cream might be slightly less firm. A gluten-free all-purpose flour blend can typically be substituted one-to-one in the crust for those with sensitivities.
Serving Suggestions
I love serving neat slices of this tart with a small dollop of softly whipped cream or a scoop of vanilla bean ice cream on the side – the contrast of temperatures is wonderful. A cup of strong espresso or a floral Earl Grey tea makes the perfect accompaniment, cutting through the richness and highlighting the fruit. For a brunch or afternoon tea, pair it with something savory like a quiche or finger sandwiches first. If you want to get fancy, a drizzle of raspberry coulis or a few extra fresh mint leaves on the plate elevates the presentation to restaurant level without any extra work.
Cultural Context
The fruit tart, or ‘tarte aux fruits’, is a staple in every French pâtisserie window, a symbol of the country’s dedication to pastry as an art form. It represents the French culinary principle of highlighting seasonal, high-quality ingredients – the cream is a simple vanilla to act as a canvas, and the fruit is always the star. This style of tart, with its shortcrust ‘pâte sablée’, rich ‘crème pâtissière’, and glossy glazed fruit, became codified in the 19th century as professional pastry techniques were standardized. Making one at home connects you to that tradition of taking time to craft something beautiful and balanced, where appearance is just as important as taste. It’s the kind of dessert that turns a simple meal into a celebration.
Pro Tips
- Pulse your food processor in short bursts to avoid overworking the dough
- Let the baked crust cool entirely before adding any filling
- Press plastic wrap directly on the pastry cream surface to prevent a skin
- Use a fine-mesh sieve to strain your glaze for absolute smoothness
- My secret is adding a tiny pinch of salt to the pastry cream
Frequently Asked Questions
This tart is versatile! Use a mix of strawberries, raspberries, and blueberries as suggested, or try sliced kiwi, blackberries, or red currants. The key is using fresh, ripe berries that aren’t too watery for a clean, beautiful presentation and the perfect sweet-tart balance.
Absolutely. You can bake and cool the tart shell a day ahead, storing it in an airtight container. The vanilla pastry cream can also be made a day in advance—just press plastic wrap directly on its surface and refrigerate. Assemble with berries and the apricot glaze up to 3-4 hours before serving for the best texture.
If you don’t have cornstarch, an equal amount of all-purpose flour can be used as a thickener for the vanilla pastry cream. Be aware it may result in a slightly less glossy finish and a more ‘floury’ taste that needs thorough cooking. For a clearer glaze, arrowroot powder is another good substitute.
The shortcrust pastry is done when it’s a deep golden brown around the edges and the bottom looks dry and set, about 20-25 minutes. It should feel firm to the touch. Properly baking it until golden is essential to prevent a soggy bottom once the creamy filling is added.
This French dessert is stunning on its own. For an extra touch, a dollop of lightly sweetened whipped cream or a scoop of vanilla bean ice cream pairs beautifully. A cup of strong coffee or a glass of dessert wine like Sauternes makes it a truly special end to a meal.