

Perfect Thumbprint Cookies are the ultimate nostalgic treat that feel special yet are deceptively simple to make. Their buttery, tender crumble and sweet, glossy jam center have made them a staple in American homes for generations. I’ve been baking this exact recipe for years because it’s so reliable and always gets rave reviews. They capture the essence of classic American baking: straightforward ingredients transformed into something truly delightful.
Why You'll Love This Recipe
- That irresistible buttery, melt-in-your-mouth texture with a pop of fruity jam
- Simple pantry ingredients come together in just over 30 minutes
- You can easily customize them with your favorite jam or nut coating
- They’re a guaranteed crowd-pleaser for holidays and everyday snacking
- My family requests these more than any other cookie I bake
Ingredients You’ll Need
- Unsalted butter, softened: This is the star for that rich, tender crumb make sure it’s soft enough to indent with your finger but not oily or melted for perfect dough consistency.
- Granulated sugar: Adds sweetness and helps create a light texture when creamed with the butter for that classic cookie structure.
- Packed light brown sugar: Brings a subtle caramel note and extra moisture for a chewier center that makes each bite more interesting.
- Large egg yolks: Bind the dough without making it tough and add richness and color skip the whites to keep the cookies tender.
- Pure vanilla extract: Provides the warm, comforting background flavor that makes these cookies smell and taste like home.
- Almond extract (optional): Lends a sophisticated, bakery-style depth that pairs beautifully with both nuts and fruit jams a little goes a long way.
- All-purpose flour: The foundation that gives structure and a soft crumble measure by spooning and leveling for accuracy.
- Salt: Balances all the sweetness and enhances the buttery flavor don’t skip it even in sweet baking.
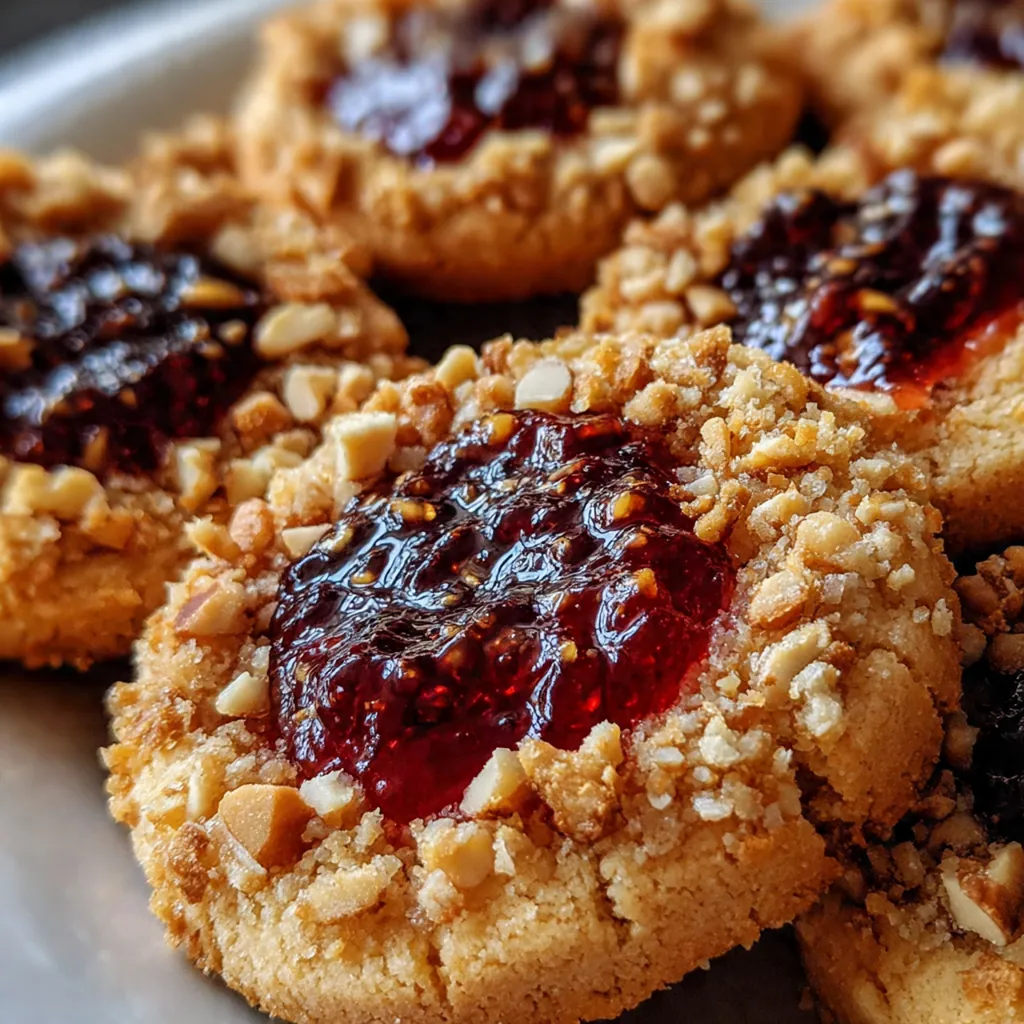
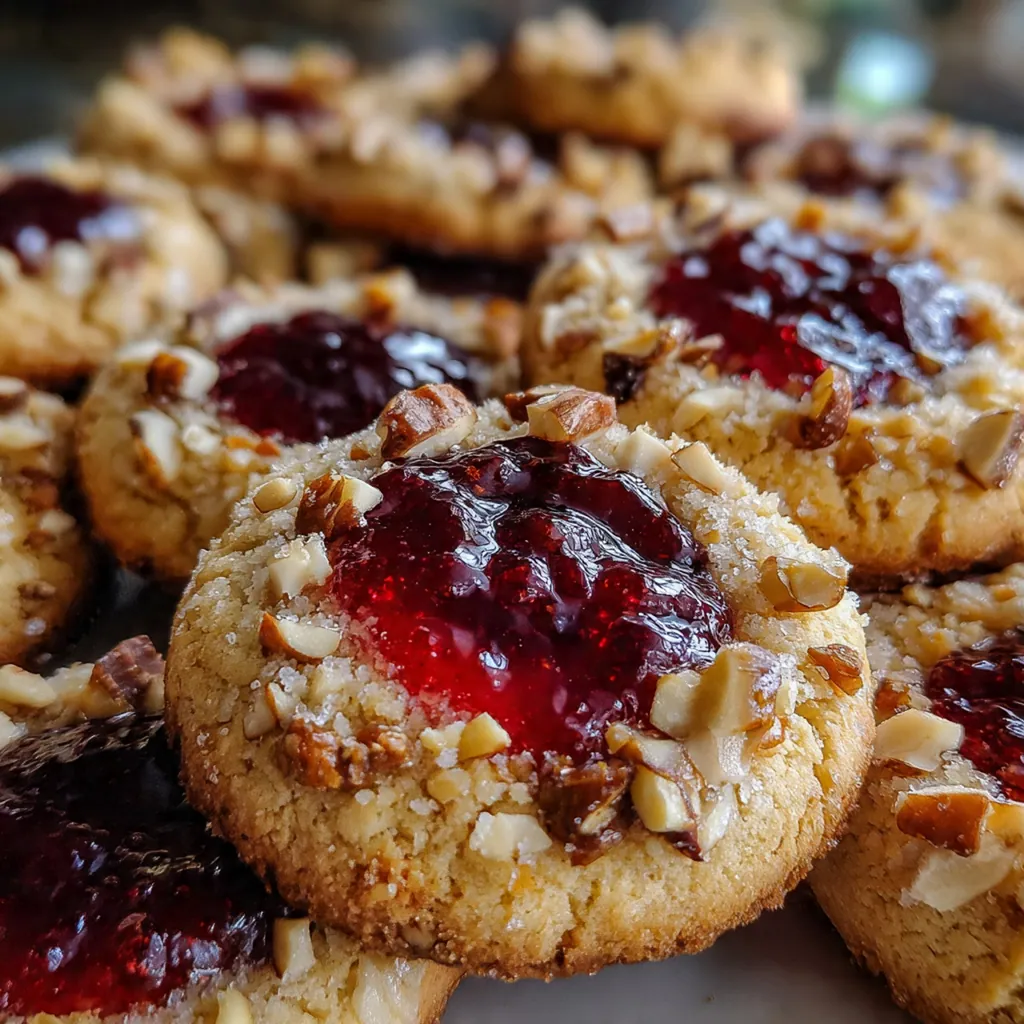
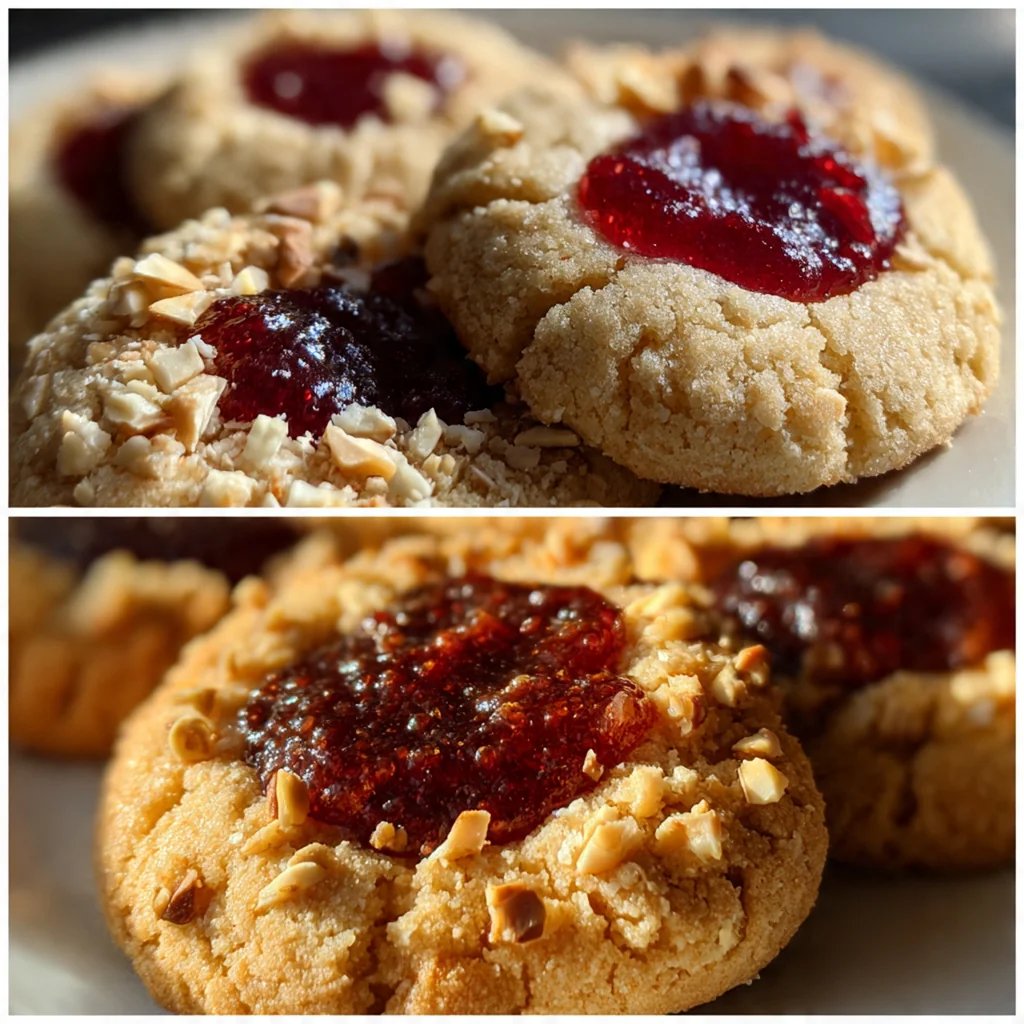
- Finely chopped walnuts or pecans: Create a delightful crunchy exterior and nutty flavor toast them lightly first for even more depth.
- Jam (such as raspberry, apricot, or strawberry): The jewel in the center choose a thick, high-quality jam that won’t bubble over and flood your cookies.
- Powdered sugar for dusting (optional): Gives a pretty, professional-looking finish and a hint of extra sweetness after baking.
How to Make It
Preheat and Prep Your Pans:
Start by preheating your oven to 350°F and lining two baking sheets with parchment paper. This prevents sticking and makes cleanup a breeze while ensuring even baking. You want everything ready because this dough comes together fast.
Cream the Butter and Sugars:
In a large bowl, use your electric mixer to beat the softened butter with both sugars on medium speed. You’re looking for a light, fluffy texture that takes about two to three minutes. This step incorporates air, which is key for that tender melt-in-your-mouth feel you love.
Add the Wet Ingredients:
Beat in the egg yolks, vanilla, and almond extract if you’re using it. Mix until everything is smooth and fully combined. The dough will look a bit glossy at this point, which is exactly what you want before adding the dry ingredients.
Combine the Dry Ingredients:
In a separate bowl, whisk together the flour and salt. This ensures the salt is evenly distributed throughout the flour so every cookie is perfectly seasoned. Gradually add this mixture to your butter mixture, mixing on low speed.
Form and Coat the Dough Balls:
Once the flour is just incorporated, stop mixing. Use your hands to roll the dough into one-inch balls, about a tablespoon each. If you’re using nuts, roll each ball in the chopped walnuts or pecans to coat it completely for that classic look and crunch.
Create the Thumbprint Indentations:
Place the coated balls on your prepared baking sheets, spacing them about two inches apart. Use your thumb or the rounded back of a teaspoon to press a deep, clear indentation into the center of each one. Don’t be shy, you need a good well for the jam.
Fill with Jam and Bake:
Carefully fill each indentation with about half a teaspoon of your chosen jam. Avoid overfilling or it’ll bubble over. Bake for 10 to 12 minutes until the edges are just set and lightly golden. The centers will look soft but they’ll firm up as they cool.
Cool Completely:
Let the Perfect Thumbprint Cookies cool on the baking sheet for five minutes to set. Then, transfer them to a wire rack to cool completely. This stops them from steaming and getting soggy on the bottom, giving you that perfect crisp edge.
You Must Know
- Softened butter is crucial for creaming properly
- Chill the dough if it gets too soft to handle
- The jam center firms up as the cookies cool
- I always make a double batch because they disappear fast
Storage Tips
Once your Perfect Thumbprint Cookies are completely cool, store them in an airtight container at room temperature where they’ll stay fresh for up to five days. For longer storage, you can freeze the baked cookies in a single layer on a tray before transferring to a freezer bag for up to three months, or freeze the shaped, unbaked dough balls to bake fresh whenever a craving hits. If you’ve dusted them with powdered sugar, do that right before serving so it doesn’t dissolve into the jam or get absorbed.
Ingredient Substitutions
If you’re out of light brown sugar, you can use all granulated sugar, though you’ll lose a bit of that caramel nuance. For a nut-free version, skip the nuts entirely and roll your dough balls in sprinkles, shredded coconut, or even crushed pretzels for a sweet-and-salty twist. Any thick jam or preserves works wonderfully, but I’d avoid jelly as it can be too runy; lemon curd or even a dollop of Nutella makes for a fantastic filling swap. If you don’t have almond extract, just use a bit more vanilla, or try a touch of orange zest in the dough for a citrusy kick.
Serving Suggestions
I love serving these cookies stacked on a vintage plate with a pot of hot coffee or a glass of cold milk for the ultimate afternoon pick-me-up. They’re stunning on a holiday cookie platter alongside chocolate chip and sugar cookies, or you can crumble one over vanilla ice cream for a last-minute dessert that feels fancy. They also pack beautifully in a cellophane bag tied with ribbon, making them the most heartfelt homemade gift for neighbors, teachers, or friends.
Cultural Context
Thumbprint cookies have deep roots in Scandinavian and Eastern European baking traditions, often associated with Christmas and called ‘Hallongrotta’ or raspberry caves. In America, they became a mid-century classic, celebrated for their simplicity and the personal touch of pressing your thumb into each one. They represent a time when home baking was about creating joy from humble ingredients, a tradition that feels especially comforting today. Their enduring popularity speaks to the universal love for a buttery cookie with a sweet, fruity surprise waiting in the center.
Pro Tips
- Use a rounded teaspoon measure for perfect, uniform indentations
- A quick chill of the shaped dough prevents spreading
- Brush baked jam with a little warm water for extra shine
- My secret is a pinch of cinnamon in the dough
Frequently Asked Questions
Thicker jams or preserves like raspberry, apricot, or strawberry work beautifully because they hold their shape and don’t run too much during baking. Avoid very runny jellies; if your jam is thin, you can simmer it for a few minutes to thicken it slightly before using.
Absolutely! You can prepare the dough, roll it into balls, and freeze them on a baking sheet before transferring to a container. Bake directly from frozen, adding a couple extra minutes to the cook time. Baked cookies also freeze wonderfully for up to 3 months.
Pecans are a fantastic alternative listed in the recipe. You can also use finely chopped almonds, hazelnuts, or even unsweetened shredded coconut for a nut-free version. The nuts add texture and flavor but can be omitted if you have an allergy.
The cookies are done when the edges are set and just starting to turn a very light golden brown, about 10-12 minutes. The centers will still look soft but will firm up as they cool on the baking sheet. The jam will be bubbly.
These buttery cookies pair wonderfully with a glass of cold milk, coffee, or tea. For a festive American dessert spread, serve them alongside other classics like brownies, shortbread, or a scoop of vanilla ice cream.