

This Classic Sweet Potato Pie I is the kind of dessert that turns a simple meal into a celebration, with its roots deeply planted in Southern tradition. You get a velvety, warmly spiced filling that’s perfectly balanced, never cloying, tucked inside a tender, flaky homemade crust. It’s a staple on our holiday table for good reason—it feels like a hug in pie form. This version uses straightforward techniques for a result that’s anything but basic.
Why You'll Love This Recipe
- The creamy filling is spiced just right and never tastes overly sweet
- A buttery, homemade crust makes all the difference for that perfect bite
- You can bake it ahead, and it honestly tastes even better the next day
- It brings that warm, comforting vibe to any gathering
- I love how it uses simple ingredients I almost always have on hand
Ingredients You’ll Need
- All-purpose flour: the foundation for a sturdy yet tender crust that holds up to the rich filling, and a good quality unbleached brand gives the best results.
- Salt, divided: enhances the sweetness and deepens all the other flavors in both the crust and the filling, and using fine sea salt ensures it dissolves evenly.
- Cold unsalted butter, cubed: creates those essential flaky layers in the crust when it melts in the oven, and keeping it ice-cold is the secret.
- Ice water: binds the dough without activating too much gluten, which keeps the crust tender and easy to work with.
- Sweet potatoes: they provide the natural sweetness and vibrant color for the filling, and roasting them yourself yields the deepest, most caramelized flavor.
- Unsalted butter, softened: adds incredible richness and a silky mouthfeel to the filling, and using room-temperature butter helps it blend in seamlessly.
- Granulated sugar: gives a clean, straightforward sweetness that balances the earthy sweet potato perfectly.
- Packed light brown sugar: introduces subtle molasses notes and moisture for a more complex flavor profile in every slice.
- Large eggs: act as the binder that sets the filling into a smooth, sliceable custard as it bakes.
- Evaporated milk: its concentrated creaminess makes the filling luxuriously smooth without making it too heavy or wet.
- Vanilla extract: rounds out all the warm spices and adds a layer of comforting, fragrant sweetness.
- Ground cinnamon: the classic warm spice that pairs beautifully with sweet potato, giving that familiar holiday aroma.
- Ground nutmeg: adds a subtle, nutty warmth that complements the cinnamon and makes the whole pie taste more complex.
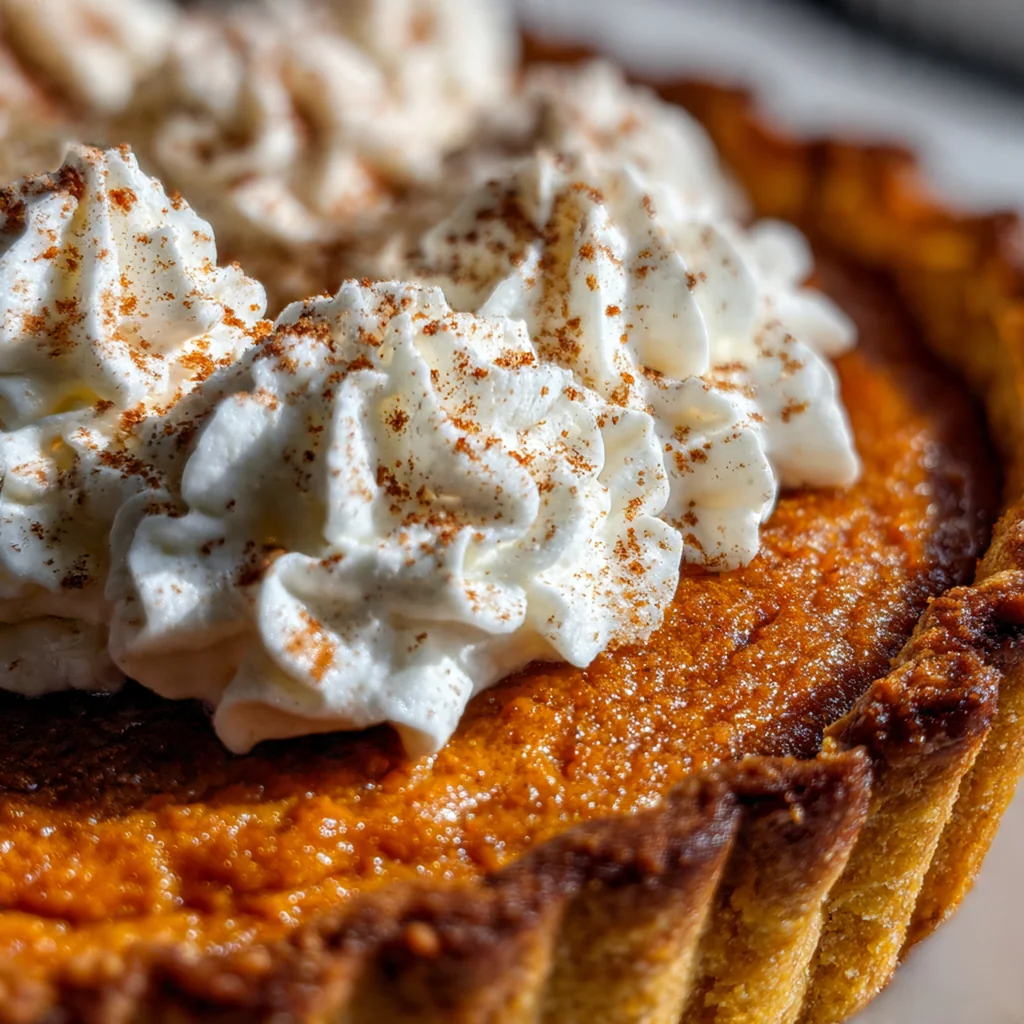
- Whipped cream for serving: a cool, light dollop on top provides a lovely contrast to the warm, spiced pie.
- A pinch of ground cinnamon for dusting: a simple finishing touch that makes each slice look absolutely irresistible.
How to Make It
Make the Pie Dough:
Start by pulsing your flour and a portion of the salt in a food processor to combine everything evenly. Then add the cold, cubed butter and pulse just until the mixture looks like coarse crumbs with pea-sized bits of butter throughout. Drizzle in the ice water, one tablespoon at a time, pulsing after each addition until the dough just starts to clump together when you pinch it. You want to handle it as little as possible to keep the butter cold and ensure a flaky crust.
Shape and Chill the Dough:
Turn that shaggy dough out onto a lightly floured surface and gently press it together into a flat disk. Wrap it tightly in plastic wrap and let it rest in the fridge for at least half an hour. This chill time relaxes the gluten and firms up the butter, which makes rolling it out so much easier and prevents shrinkage in the oven.
Roast the Sweet Potatoes:
While your dough chills, heat your oven to 400°F and get your sweet potatoes ready. Pierce them all over with a fork so steam can escape, then roast them on a baking sheet until they’re completely tender and easily pierced with a knife. Let them cool just enough so you can handle them, then scoop the fluffy flesh into a bowl and mash it until it’s smooth. Don’t forget to reduce your oven temperature to 350°F for the actual pie baking later.
Roll, Dock, and Blind Bake the Crust:
On a floured surface, roll your chilled dough out into a 12-inch circle, then carefully transfer it to your pie plate. Trim and crimp the edges however you like, then prick the bottom all over with a fork. Line it with parchment paper, fill it with pie weights or dried beans, and bake it for 15 minutes. Pull out the weights and parchment and bake for another 5 minutes until it’s lightly golden and set—this step is your best defense against a soggy bottom.
Mix the Filling to Perfection:
In a large bowl, combine your smooth sweet potato mash with the softened butter until they’re fully incorporated. Add both sugars, the eggs, evaporated milk, vanilla, spices, and the remaining salt. Use an electric mixer to beat it all together on medium speed until you have a completely uniform, silky-smooth filling with no streaks. This ensures every bite is perfectly blended and creamy.
Fill, Bake, and Cool Completely:
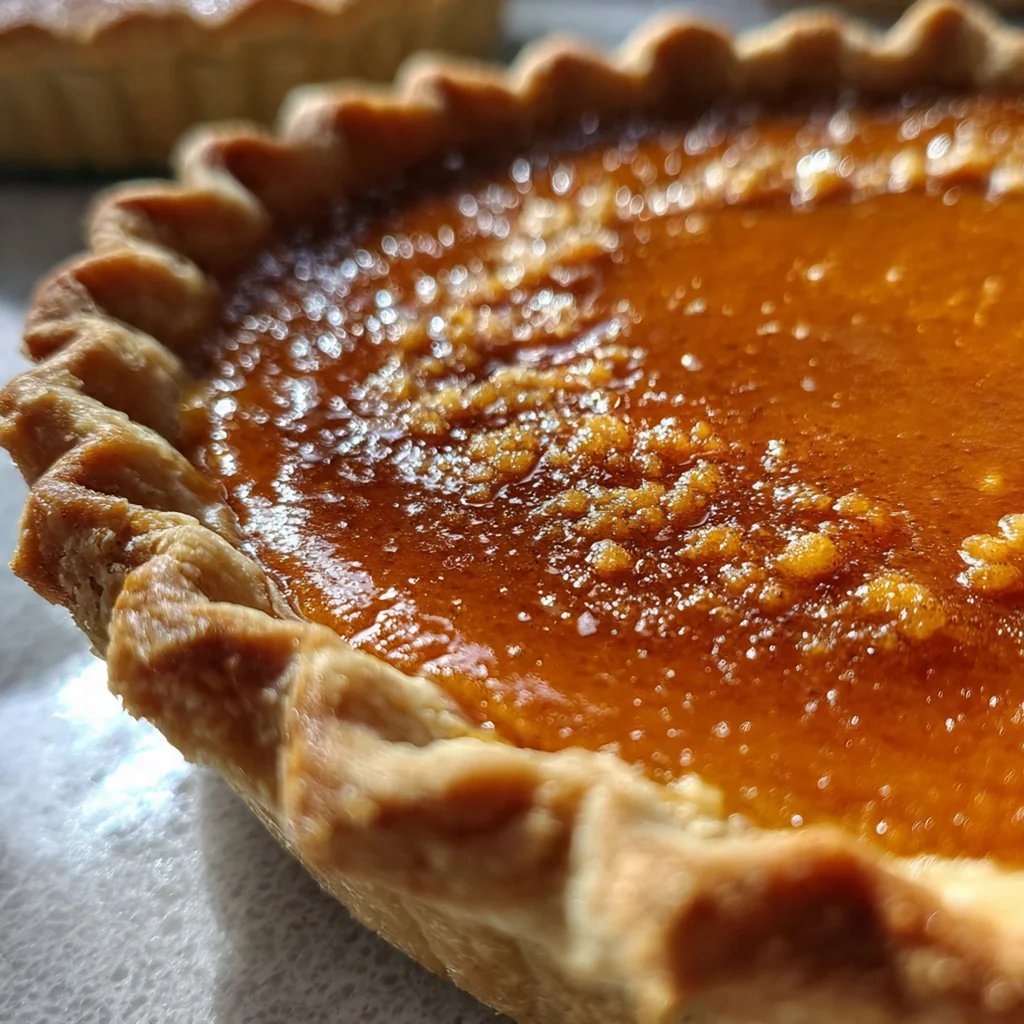
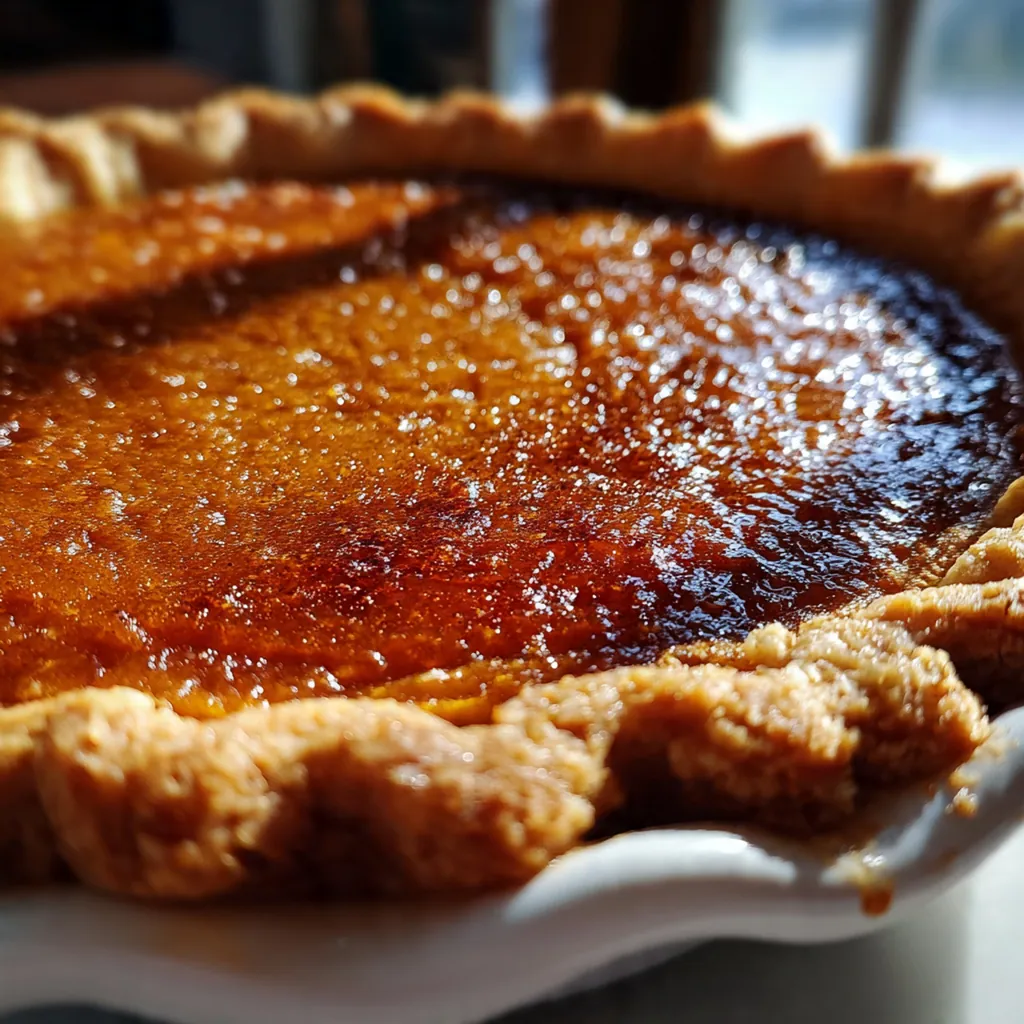
Pour that gorgeous filling into your pre-baked crust and smooth the top with a spatula. Bake the pie at 350°F until the filling is set; it should look firm at the edges with just the slightest wobble in the center. Let the pie cool completely on a wire rack for at least two hours before you even think about slicing. This patience is non-negotiable, as it allows the custard to set up properly for those beautiful, clean slices.
You Must Know
- Blind baking the crust is essential for a crisp, flaky base
- Letting the pie cool completely is the key to getting clean slices
- Running the sweet potato through a ricer gives you the silkiest filling
- I never skip the chill time for the dough
Storage Tips
Once your Sweet Potato Pie I has cooled completely, you can cover it loosely with plastic wrap or slide it into a large airtight container and store it in the refrigerator. It’ll keep beautifully for up to three days, and I actually think the flavors meld and improve after a day. For longer storage, you can wrap the whole baked pie tightly in plastic and then foil and freeze it for up to two months; just thaw it overnight in the fridge before serving. If you have leftover slices, store them the same way, and you can enjoy them cold straight from the fridge or let them come to room temperature for about 30 minutes.
Ingredient Substitutions
If you’re in a pinch, you can use canned sweet potato puree, but make sure it’s unsweetened and drain any excess liquid to keep your filling from being too wet. For the evaporated milk, an equal amount of heavy cream or half-and-half will work, though the texture might be a touch richer. Don’t have fresh nutmeg? An equal amount of allspice or a little extra cinnamon can stand in, though the flavor profile will shift slightly. For a dairy-free version, use a plant-based butter and swap the evaporated milk for full-fat canned coconut milk, which gives a similar creamy texture and a subtle, lovely flavor.
Serving Suggestions
A dollop of freshly whipped cream is the classic and perfect pairing, cutting through the richness of the pie with its light, cool texture. For a truly indulgent treat, serve a warm slice with a scoop of high-quality vanilla ice cream that melts into the spiced filling. A simple dusting of cinnamon or a light drizzle of caramel or bourbon sauce right before serving can make this humble pie feel incredibly elegant. It’s also fantastic all on its own with a cup of strong coffee or a glass of cold milk for the ultimate comforting dessert experience.
Cultural Context
This style of Sweet Potato Pie I is a cornerstone of Southern American cooking, with a history that stretches back generations and is deeply intertwined with community and celebration. It’s a close cousin to pumpkin pie but often held in even higher regard for its naturally sweeter, earthier flavor that shines on Thanksgiving and Christmas tables. The tradition of using roasted sweet potatoes, warm spices, and a custard base reflects a resourceful use of readily available ingredients, turning them into something truly special. More than just a dessert, it’s a symbol of hospitality and comfort, a dish that tells a story of home and heritage with every single slice.
Pro Tips
- Use room temperature ingredients for the filling to avoid a grainy texture
- Test for doneness by jiggling the pie—the center should be set with a slight wobble
- For the smoothest filling, press the mashed sweet potato through a fine sieve
- Letting the pie cool fully is the secret to perfect slices
- My family insists I make two because one never lasts the day
Frequently Asked Questions
The key is thoroughly beating the softened butter with both granulated and brown sugars until light before adding the eggs, evaporated milk, and mashed sweet potatoes. Using evaporated milk, as in this recipe, also contributes to a rich, velvety texture without making it too wet.
Absolutely! This pie is ideal for making ahead. Once completely cooled, you can cover it tightly and refrigerate for up to 2 days. The flavors actually meld and improve, making it a perfect dessert for stress-free holiday entertaining.
If you don’t have evaporated milk, you can use an equal amount of heavy cream or half-and-half for a similar rich result. Regular whole milk will work but will produce a slightly less creamy filling. Avoid non-dairy milks as they can alter the flavor and texture.
The pie is done when the edges are set but the very center still has a slight, gentle wobble (like Jell-O) when you shake the pan. It will continue to set as it cools. Overbaking can cause the filling to crack, so pulling it at this point is crucial for perfect texture.
For a classic Southern presentation, serve it slightly warm or at room temperature with a dollop of freshly whipped cream or a scoop of vanilla ice cream. A dusting of cinnamon or a drizzle of caramel sauce can add an extra special touch.